
Human Resource
HR Setup
This Page is designed for managing key HR functions, including job titles, attendance types and when is the month start and end. It enables you to organize employee data, define job roles, and establish attendance parameters to facilitate smooth HR processes and effective personnel management.
Setup:
Choose a period when the company month ends and starts for salaries.

For example: 1/ August – 25/August

Then click on the save button at the top left corner.
HR Account setup:
Select the Salary Account, Mobile Allowance Account, Employee Loan Account and the Employee advance Account.

Then click on the save button at the top left corner.
Note: Make sure to have accounts of type “Payroll” in the chart of accounts.
Attendance Types:
Create a new attendance type.

Click on the add button.
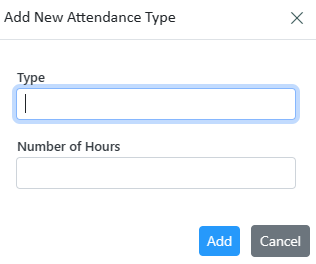
Enter the attendance type and the number of hours and click on the add button to save the record.
Jobs:
Create a new job.

Click on the add button.
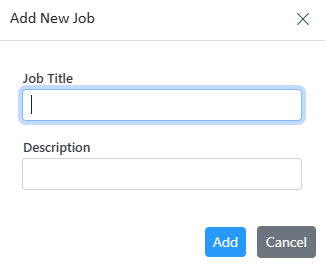
Enter the Job title and the description and click on the add button to save the record.
Modifying records.

To edit the record, click on the edit button make the necessary changes, and click on the update button.

To delete the record, click on the delete button.
Departments
This page allows you to manage and organize departments within your organization. It enables you to create, edit, and delete department records, assign employees to specific departments
Create a new department

Click on the add button.
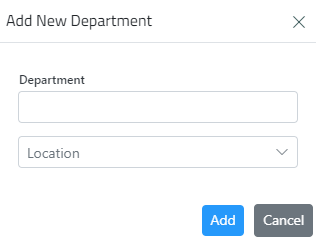
Enter the department name, Select the location, and click on the add button.
Modifying records.

To edit the record, click on the edit button make the necessary changes, and click on the update button.

To delete the record, click on the delete button.
Employees
The Employee Page is used to manage employee information within the organization.
General Information:

Key details such as name, phone number, department, and currency are required when creating an employee record.
To register an employee as user, an email address is essential, This allows the employee to access the system and use its features.
Accounting Information:
After entering personal information, you can set up all necessary accounting details:
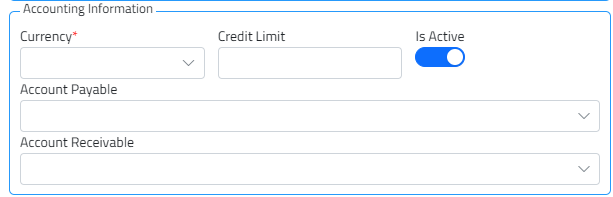
Including setting a credit limit. You can also activate or deactivate the employee by clicking on “Is Active” button.
You have to link the accounts payable and accounts receivable with the appropriate account.
Filtering:
On each Column:

Filtering: Click on the filter icon to open the filter and enter the value to filter for or use the search bar to find the desired record.
Column:
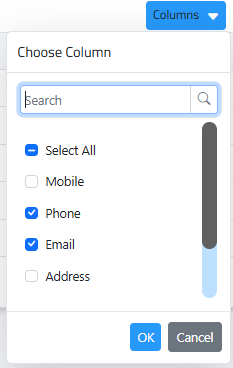
By using a column filter, you can select which columns to display or hide
Salaries Setup
The page will display the employees added by the user, including their job titles, job types, and salary details.
Modifying information:
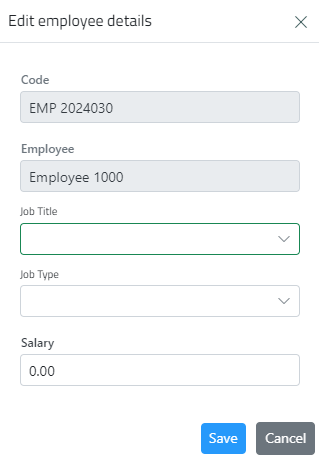
To make changes to the employee information, simply double-click on the record. After making the necessary modifications in the Job title, job type, and salary amount.
The employee code and the name cannot be edited from this page, to edit this information go to the employee page.

Click on the “Save” button to save the updated information.
Attendance
This page is used to manage and track employee attendance within an organization, monitor attendance patterns, and generate reports. You can view and edit attendance records. This page helps ensure accurate tracking of work hours and adherence to company attendance policies.
Sorting:

Click on the column header to sort the records in ascending or descending order.
Record Status:
| The record has been posted and recorded in the accounting system. |  |
| The record has not been posted yet and can be modified |  |
| The record can be deleted if the user has permission by clicking the delete button ( Only if the status is draft ) |  |
Create new attendance record

First, you need to select a department; only employees assigned to that department will be displayed.
Note: make sure all the required employees have their salaries set on the salaries page.
For each employee, the page shows relevant information such as job title, salary, and job type.

You can enter absence hours, and the system will automatically calculate the working hours based on this data.


Enter notes for the attendance record.

Select a date.

Click on the save button to save the attendance record.
When the record is saved it is in draft status,

Once you click on edit button , you can only edit the notes.


The record can be deleted if the user has permission by clicking the delete button ( Only if the status is draft )

Click on the Post button to post the attendance record.
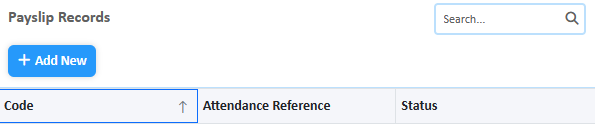
Payslip Records
This page displays all payslips along with their statuses. You can view the details of each payslip and track its payment status to manage payroll effectively.
Each payslip can be categorized as follows:
| The payslip has been fully paid. |  |
| The payslip has been recorded but not yet paid. |  |
Sorting:
Click on the column header to sort the records in ascending or descending order.
Create a new Pay slip record

Select the Attendance reference from the list of posted attendance references.
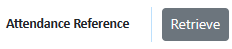
Click on the retrieve button.
Once the button is clicked the system automatically retrieves the information of the employees in the employees tab.
Input Details in the Employees tab.
Enter the advanced salary.
Enter the loan amount.

View the other information like the Employee code, Employee name, Job title, Salary, Net salary, and Account.
Note: the system will automatically calculate and display the net salary.

Upon ensuring the accuracy of all information, please proceed by clicking on the “Save” button.