Sales Setup
Price Group
This page allows you to define different pricing structures and allocate them to specific locations, ensuring that your pricing strategies are consistently applied.
How to create a new price group
First, click on Add New Price Group:
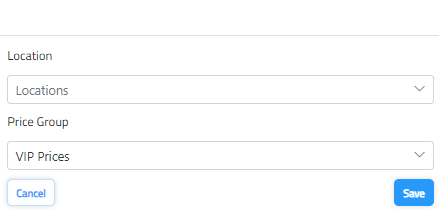
Enter the name and description for the price group.

Then, click on Add Location and select locations from the drop-down menu. Choose the price group you want to apply.

If you need to edit the name of the group or remove any locations that have been added, click on the Edit button.


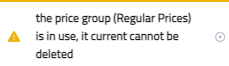
Note: you cannot delete a price group if it is linked with a location, you have to remove location first.
Note: Multiple locations can be added to a price group.

Unit of Measurement
This page lets you define how products are measured, such as by pieces, kilograms or liters.
Note : Any record within the inventory or purchase module will be displayed here.
How to add a New Unit of Measurement
By clicking Add, the unit of measurement category can be created by entering the name of the category.

After the Category of the unit of measurement is created, the individual units in each category can be created.
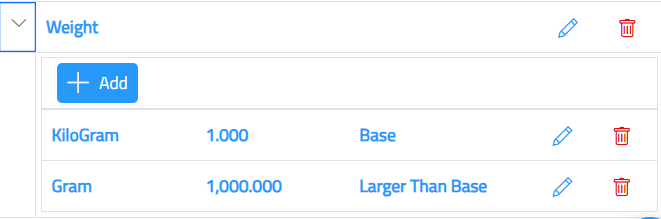
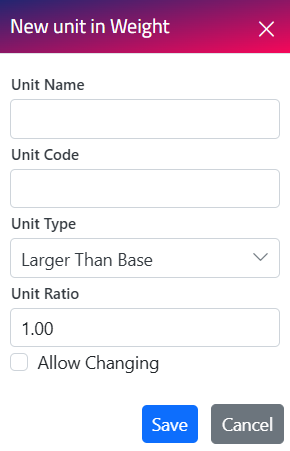
- The unit’s name should be at least 3 characters.
- The first unit will be the base unit. 1 unit category can only have 1 base unit.
- Units in 1 category cannot have the same ratio and type combination.
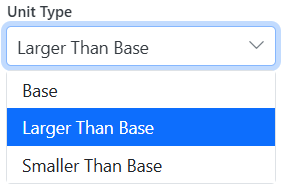
- The new units can be of 3 types: base, larger than the base, and smaller than the base.
Modification
Edit Information:

To make changes to a record, click on the Edit button. After making the necessary modifications, click on the “Save” button to save the changes.
Deleting a Record

To delete a record, simply click on the “Delete” button.
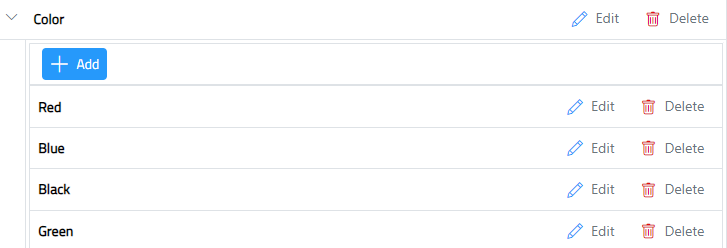
Product Attributes
In this page you can create and manage the list of your product attributes, It typically includes information like size, color, material, and other characteristics that define the product.
Note : Any record within the inventory or purchase module will be displayed here.
How to add a Product attribute
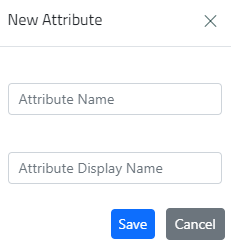
First, add the attribute name and the attribute display name.
These attributes are used in the products page to make different variants of a product.
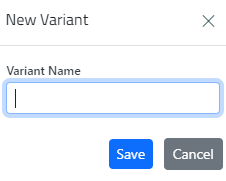
You can add variants in each product attribute, Click on the exapnd button to add new variants
Modification
Edit Information:

To make changes to a record, click on the Edit button. After making the necessary modifications, click on the “Save” button to save the changes.
Deleting a Record

To delete a record, simply click on the “Delete” button.
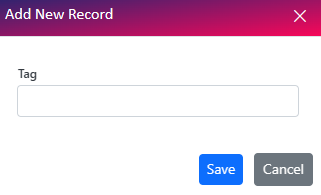
Product Tags
Product tags are keywords that describe and categorize products, making them easier to find and filter
Note : Any record within the inventory or purchase module will be displayed here.
How to add a Product Tag
Click on Add Button:
Modification
Edit Information:

To make changes to a record, click on the Edit button. After making the necessary modifications, click on the “Save” button to save the changes.
Deleting a Record:

To delete a record, simply click on the “Delete” button.
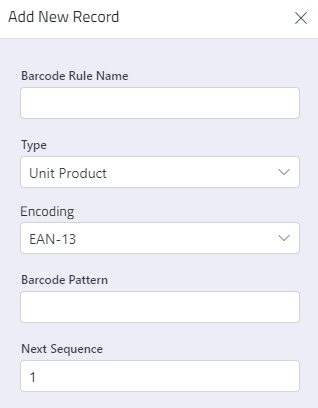
Barcode Setup
This page lets you customize barcode formats, data, and labels for better inventory management and scanning.
Note : Any record within the inventory or purchase module will be displayed here.
Barcode rules can be created here by Entering the rule name, Type, Encoding rule, Barcode pattern And Next Sequence.
How to Customize Barcode
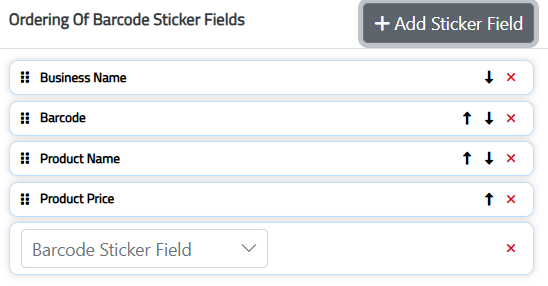
First : Set the default Barcode Sticker Print Settings
Second: you add multiple sticker field and you can rearrange them
Please note that the following measures follow zebra printers unit of measurement : Dots per Millimeter (dpmm)

- Select the barcode type to be displayed.
- Select the barcode height and width
- Check box to select if the barcode number should be displayed or not.


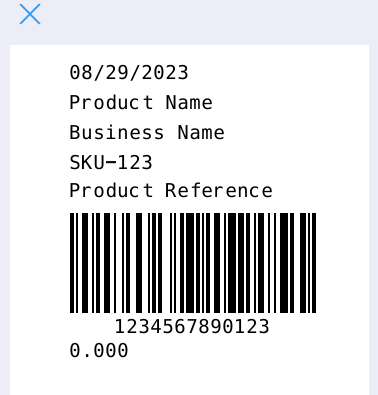
Click on “preview” button the preview can be viewed to visualize how the layout of the barcode is.

After all the settings click on Save Changes
Locations
The locations page allows you to manage and oversee all company locations. You can add, edit, or delete locations and view detailed reports for each location.
Note : Any record within the inventory or purchase module will be displayed here.
How to Add New Location
Click on Add Button:
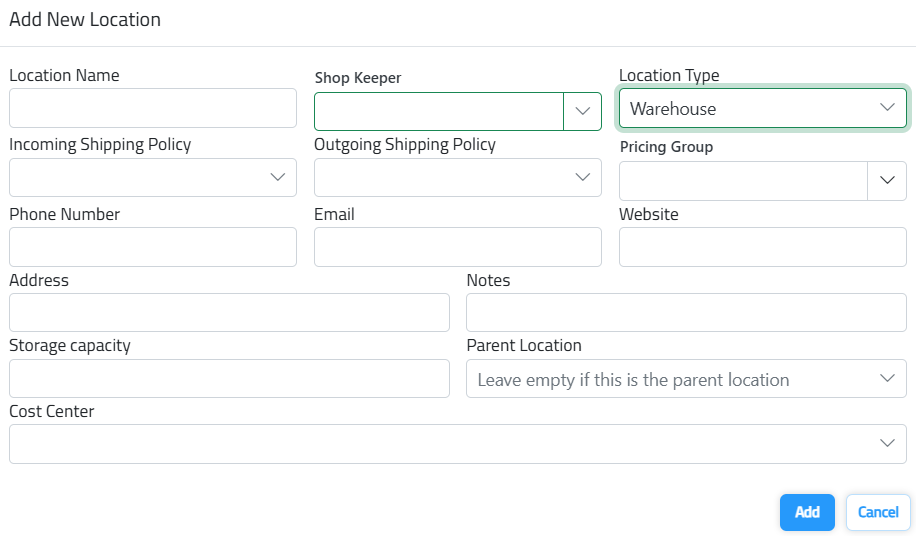
Enter the Location name, Shop Keeper, and location type.
Depending on the location type, the price groups can be allocated. Only shop and warehouse location types can have location type.
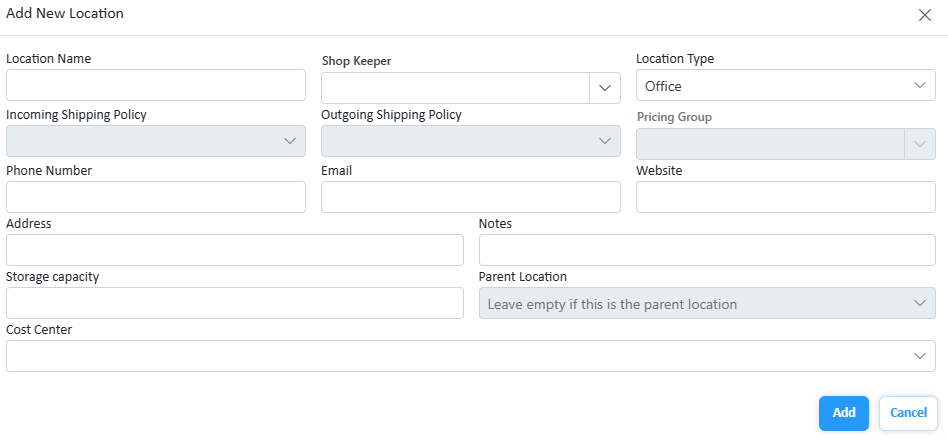
For Office location type, the Incoming shipping policy, Outgoing shipping policy pricing group, and parent location are disabled.
For Warehouse, Shop and E-Commerce location type:
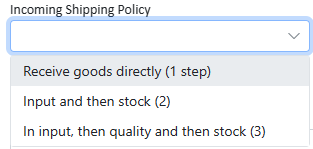
- Select the incoming shipping policy.
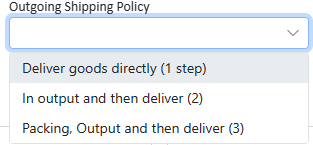
- Choose the outgoing shipping policy.
- Choose the desired price group.
Select the parent location.
For the locations of any location type, the following fields are the same:
- Enter the phone number, Email, Website, Address, Notes, and Storage Capacity.
- If the Cost center is Allowed in the company, select the cost center for this location.
Location Code is a unique code generated by the system for each location.
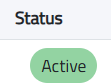
The status of the Location displays the state of the location and whether it is currently active or not.
Modification
Edit Information:

To make changes to a record, click on the Edit button. After making the necessary modifications, click on the “Save” button to save the changes.
Deleting a Record

To delete a record, simply click on the “Delete” button.
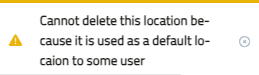
Note: the user can’t delete location if it is used by another user
Location Report
The details of the location can be viewed on this page, as well as manage the barcode printer settings, Click on the ” Go to reports ” Button:

The location can be Deactivated by the deactivate location button.
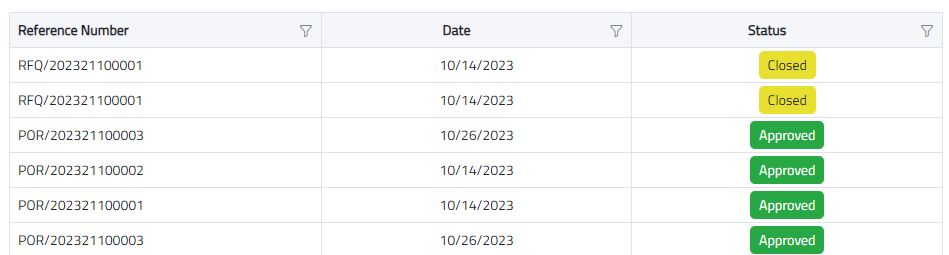
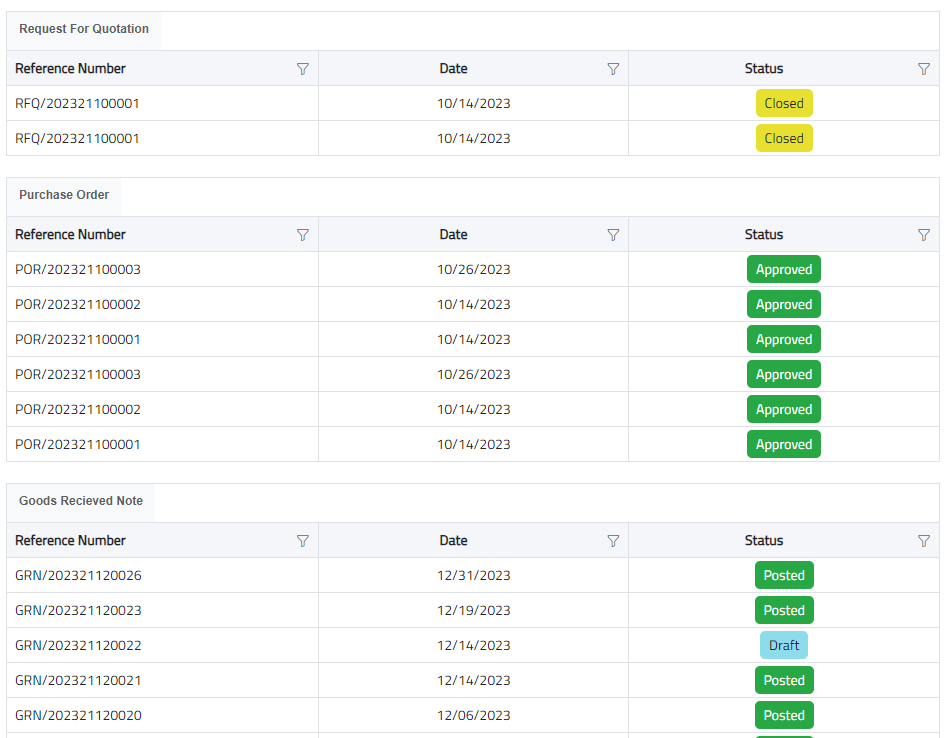
The button “Show document by the group”/ “Show all Documents” filters the documents under this location to be viewed by document type or all.

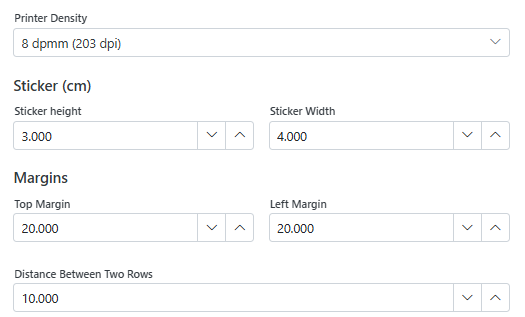
The Custom barcode sticker button is to set custom settings for barcodes for specific locations.
The custom barcode sticker settings:
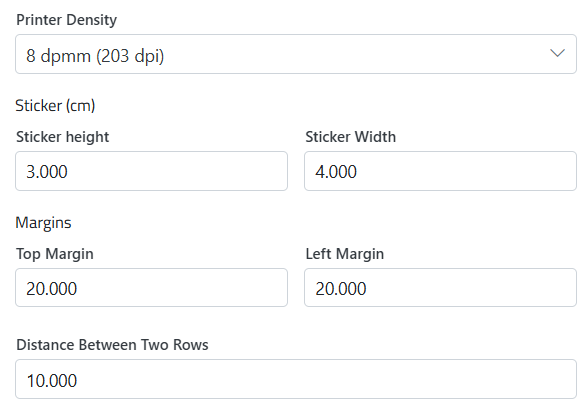
Select the printer Density, Sticker height, and width in cm, the Top margin, and left margin in dpmm, and the distance between 2 rows.
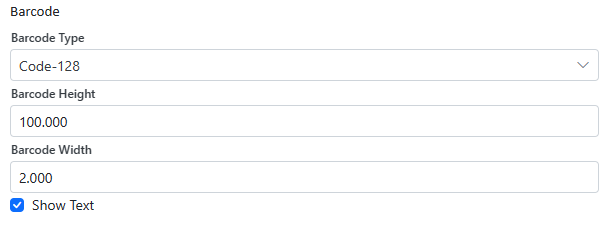
Select the barcode type to be displayed.
Selecting the barcode height specifies the height and width.
Check the box to select if the barcode number should be displayed or not.
Barcode sticker fields:
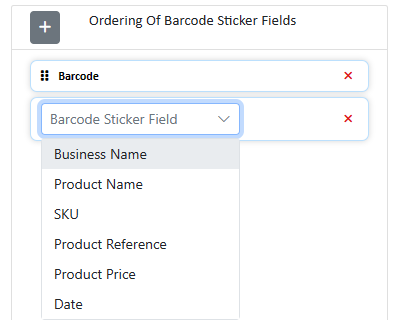
Add barcode fields.
Arrange the barcode fields in the desired order.
Set the font height and width of the barcode fields in dpmm.
The barcode display can be previewed by, clicking on the preview button.
The Barcode is used all over the system to keep a reference for the products.
Barcode Printer:
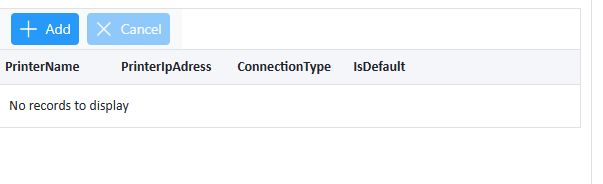
Barcode Printer can be added by clicking add,
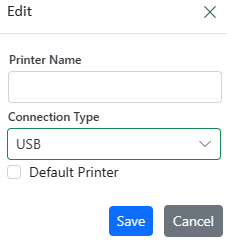
Enter the name of the printer, and check the box if the printer should be kept as the default printer.
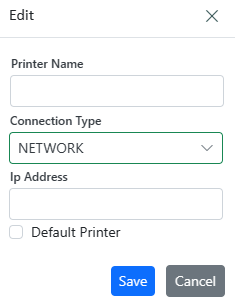
If the connection type is Network, you have to enter the IP address.
Services
The service page is used during the creation of a bill or invoice to specify and detail the services provided. It allows you to add service descriptions, quantities, and rates, ensuring accurate and comprehensive billing.
Note: Before creating the service make sure to create the service type.
Note : Any record within the Accounting module will be displayed here.
Create a new service
Click on the add button to add a new service:
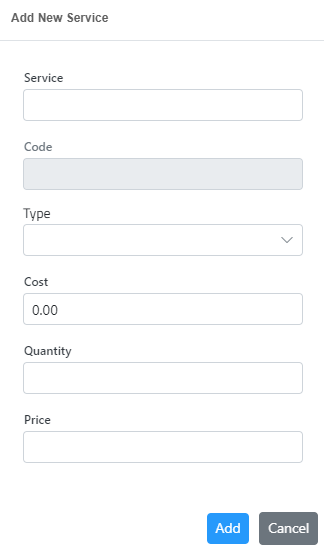
Enter the name of the service, choose the type of service (The user has created on the service type page), and add the cost of the service, quantity, price, and account that will be affected and click the add button.
Note: the accounts of the services should be created in the chart of accounts with the type “service”.
By default, the accounts will be taken from the companies.
Delete:
To delete the service, click on the delete button.
Service type
Service type is used when creating a service.
Create a new service type

Click on the add button to add a new service type
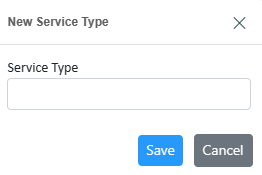
Enter the name of the service type.
Modify service type Or change Accounts:

Click on edit to add the service-type accounts.
Select the income account, expense account, service account, sales return account, and cost of sales return and click save.
Price Lists
The price lists page is used to manage pricing strategies. It allows setting minimum purchase amounts, applying discounts, and controlling time-limited offers, helping businesses attract customers and optimize sales.
Note : Any record within the inventory module will be displayed here.
How to Create a New Pricing List


Enter the Price group name, description, Minimum amount, and Discount, check if the date is restricted, and if there are date restrictions select the start and end date of the restrictions.

Click on the Update button to save.
Editing a pricing list record:
Double-click on the record to be edited, and make the necessary changes.

The system will show the new changes with a green background, and verify the changes are accurate.

Then click on the update button.
Deleting a pricing list record:

Click on the record to be deleted then click on the delete button and the system will delete the record.
