
Cash Book
Bank
This page lets you manage multiple banks and link them to your company’s accounts. You can add bank details like account name, number and BIC ( Bank identifier Code ) and connect them to financial accounts for easier transactions and tracking.
How to Add New Bank

Click on the add button to create a new bank record.
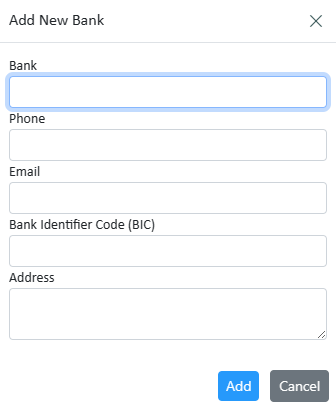
Enter the name of the bank, the phone number, email ID, bank identifier code (BIC), and the address of the bank, and click on the save button.
Add accounts to the bank:

Click on the expand button to view the accounts under the bank.


click on the add button to add a new account under the bank.
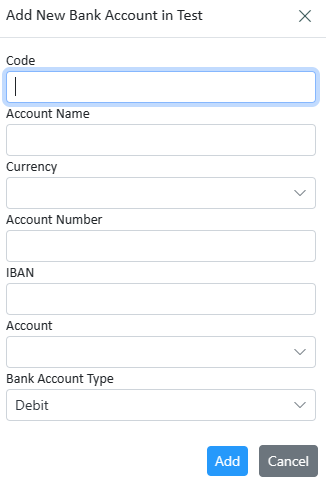
Enter the code,
Note: the code must be 3 characters at max.
Enter account name, Select the currency
(To create new currencies go to the curries page on the set-up tab on the accounting module)
Enter the account number, and the IBAN number
Select the account and the bank account type.
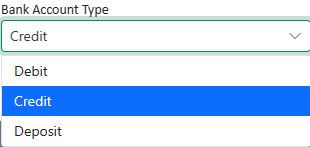
choose the desired type then click on the save button.
Modify the bank information:

click on the edit icon to edit the information of the bank, make the necessary changes, and click save.
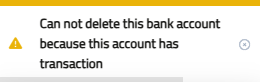
To delete the bank, click on the delete button and the system will delete the bank Only if there are no transactions on the bank. otherwise, this message will appear:
Cash
This page allows you to manage cash funds used for creating invoices and track cash payments
How to Add New Cash Fund

Click on the add button
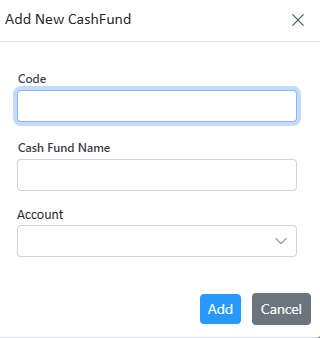
Enter the code and name of the cash fund, select the account you added in the chart of accounts, and then click save
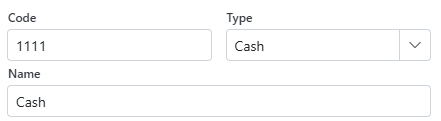
Note: If no accounts are visible, it means the chart of accounts does not contain a cash account.
Click on the Setup page and then Chart of Accounts and create the necessary accounts. Ensure the account type is cash
Fund Transfers:

To go to the bank fund transfers, click on the transfer button.
Fund Transfer
The fund transfer screen is designed to facilitate the movement of funds between a bank account and a cash account. This screen ensures that all transactions are accurately recorded in the system without the need for manual journal entries.
Sorting:

Click on the column header to sort the records in ascending or descending order.
Status of each transaction will show in status column.
How to Create a New Fund Transfer

1. Transfer details


Select the account to which the funds will be transferred.
2. Amount

There is an input field labeled “Amount” where you enter the exact amount of money to be transferred.
3. Date

A date picker is available for you to select the date of the transfer.
4. Description & Comments


Use this field to add any relevant details or descriptions about the transfer. This information can be useful for record-keeping and future reference.
Note : Only the description will show in the journal entries and reports, comments are for internal records.

At the top of the screen, you will find the transfer history. This section lists all users that create,unpost , update, delete and reversed this entry, providing a comprehensive audit trail.

Actions:
| clicking on post button updates the account balances, and creates the journal entries. | |
| The system will convert the document to a PDF for printing | |
| To edit documents that are already posted, you must first unpost the document, make the necessary edits, and then repost it. | |
| Use the navigation buttons in the top right corner to easily move to other fund transfer documents. The current document number is displayed. | |
| Click on the delete button to delete the document. |  |
Reversing Transfers:

When you reverse a transaction, the system automatically creates an opposite entry to avoid the effect of the original transaction. This is particularly useful for correcting errors without deleting the original record.


Reversed documents will display a reference number indicating they have been reversed.
Payment Voucher
This page is used to approve, record a payment and help ensure that all payments are properly documented. It includes important information’s like: Amount Paid, date of Payment, payee and purpose.
Voucher Type:
| Created manually by a user. |  |
| Automatically created as a result of paying a bill. |  |
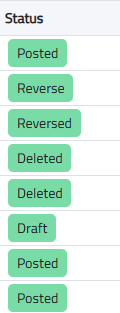
Voucher Status:
| The voucher has been canceled or undone. |  |
| The voucher has been reviewed and approved for payment. |  |
| The voucher has been finalized and recorded in the accounting system. |  |
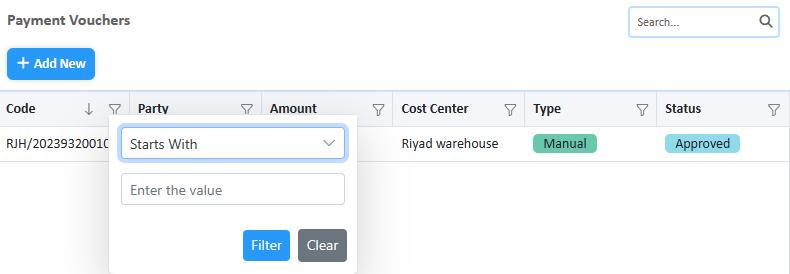
Filtering & Sorting:
- Filtering:
Click on the filter icon to open the filter.
Enter the value you want to filter for or use the search bar to find the desired record.
- Sorting:
Click on the column header to sort the records in ascending or descending order.
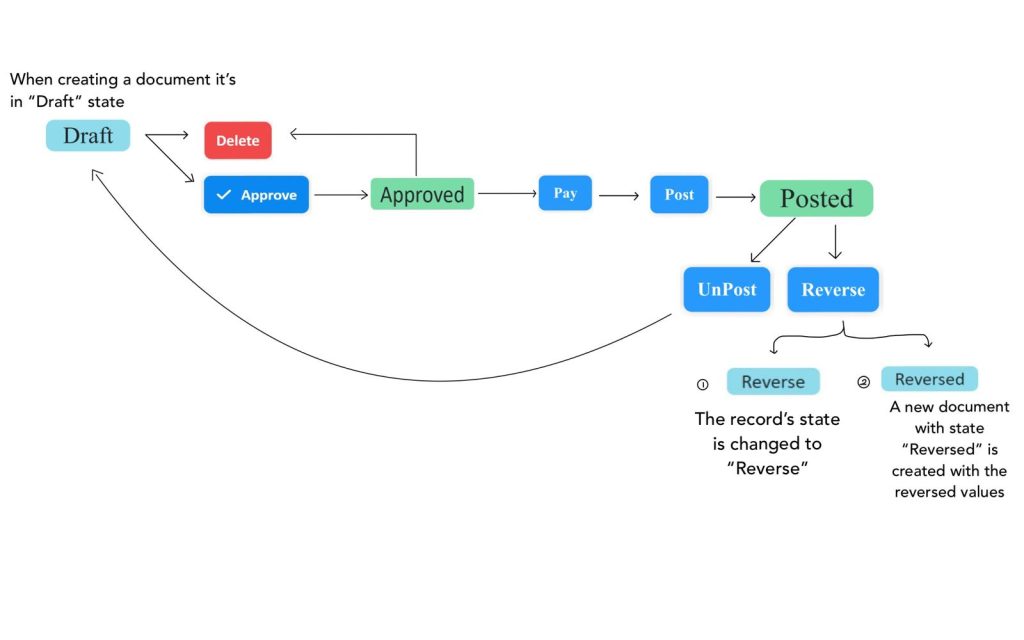
Flow of Document Status

Create a New Payment Voucher


Account Selection: choose the account from which the amount will be paid
Description: Enter a description of the payment voucher. ” This field is mandatory; it will not be saved without entering a description”

Reference Number: enter the reference number
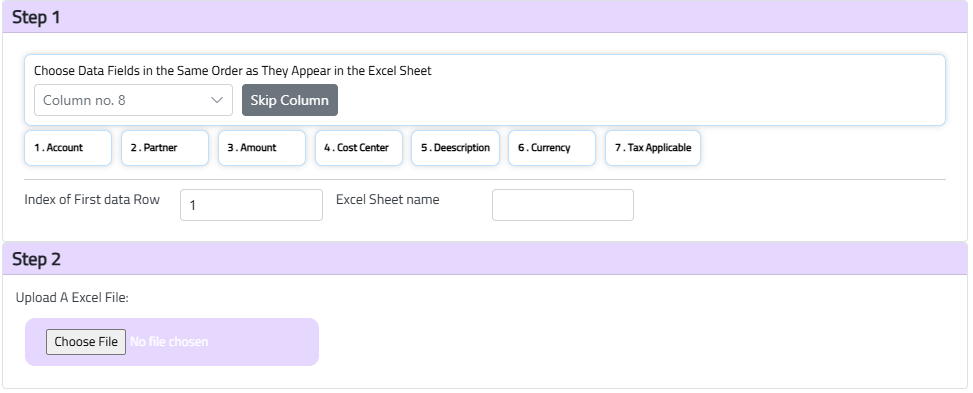
Import Excel:

By clicking this button, you will be directed to a page where you can select data fields from an Excel file to import into the system.

Actions:
| clicking on post button updates the account balances, and creates the journal entries. | |
| The system will convert the document to a PDF for printing | |
| Click the duplicate button to create a copy of the document. | |
| View the history of changes made to this document. | |
| If the user has permission, click the delete button to delete the document. | |
| Click the Excel export button to export the document in Excel format. |  |
| Use the navigation buttons in the top right corner to move to other documents. |  |
| Documents can be archived by clicking the archive button. |  |
| The payment voucher can be directly approved by clicking the approve button |  |
Reversing Voucher:

To reverse a voucher, click the reverse button located in the top right corner of the page.
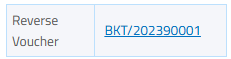

Reversed documents will display a reference number indicating they have been reversed.
Note: For different currencies, ensure the currency exchange account is set up in the chart of accounts.

Ensure the default chart of accounts has the exchange gain and loss accounts selected in the company settings page. The system will automatically calculate the rates based on the rates set in the currencies page in the setup.
Note: The document must be balanced. If the total amount of all lines does not match the entered amount, the document will not be posted, and an error message will appear.

If the lines exceed the voucher amount, the system will reduce the amount entered automatically.
Preview of voucher:

Before you finalize the voucher, the system displays a preview of the voucher that will be created. This preview typically shows the debit and credit accounts.
Receipt Voucher
A receipt voucher is used to approve and record the receipt of payments, ensuring all payments are properly documented. It includes important information such as the amount received, date of payment, payer, and purpose.
Voucher Type:
| Created manually by a user. | |
| Automatically created as a result of paying an invoice. | |
Filtering & Sorting:

Filtering: Click on the filter icon to open the filter and enter the value to filter for or use the search bar to find the desired record.
Sorting: Click on the column header to sort the records in ascending or descending order.
Flow of Document Status
Create a New Receipt Voucher
Account Selection: choose the account from which the amount will be received
Description: Enter a description of the receipt voucher. ” This field is mandatory; it will not be saved without entering a description”
Reference Number: enter the reference number

After making the necessary changes, click the save button. The document will remain in draft status until it is approved.
Import Excel:

By clicking this button, you will be directed to a page where you can select data fields from an Excel file to import into the system.
Actions:
| clicking on post button updates the account balances, and creates the journal entries. | |
| The system will convert the document to a PDF for printing | |
| Click the duplicate button to create a copy of the document. | |
| View the history of changes made to this document. | |
| If the user has permission, click the delete button to delete the document. | |
| Click the Excel export button to export the document in Excel format. | |
| Use the navigation buttons in the top right corner to move to other documents. | |
| Documents can be archived by clicking the archive button. | |
| The receipt voucher can be directly approved by clicking the approve button | |
Reversing Voucher:

To reverse a voucher, click the reverse button located in the top right corner of the page.

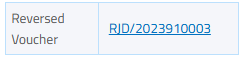
Reversed documents will display a reference number indicating they have been reversed.
Note: For different currencies, ensure the currency exchange account is set up in the chart of accounts.

Ensure the default chart of accounts has the exchange gain and loss accounts selected in the company settings page. The system will automatically calculate the rates based on the rates set in the currencies page in the setup.
Note: The document must be balanced. If the total amount of all lines does not match the entered amount, the document will not be posted, and an error message will appear.

If the lines exceed the voucher amount, the system will reduce the amount entered automatically.
Preview of voucher:
Before you finalize the voucher, the system displays a preview of the voucher that will be created. This preview typically shows the debit and credit accounts.
Bank and Cash Fund Statements
This page allows you to view and manage both payment and receipt that are posted and paid for bank accounts and cash funds. The financial accounts must be of type ‘bank’ or ‘cash’.
Viewing Statements:

To view Bank Accounts Statement: Click on the Banks tab

To view Cash Funds statement: Click on the Cash Funds tab.
Selecting Accounts:
Choose the bank or cash fund from the drop-down menu.
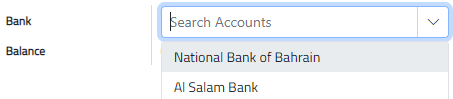
The system will display all payments/receipts based on your selection.
Balance Information:

Ending Balance: Shows the available balance.

Uncleared Balance: Displays the total uncleared balance of payment and receipt vouchers.
The system automatically deducts cleared amounts from the uncleared balance.
Clearing the Balance “Reconciliation” :
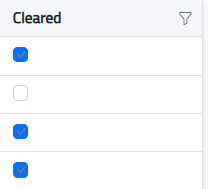
Tick the checkbox under the ‘Cleared’ column to clear the balance.
The system adjusts the uncleared balance automatically.
Filtering Information:

Enter the value you want to filter for or use the search bar to find the desired record.
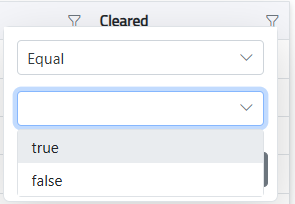
Filter by cleared (true) or uncleared (false) status.
Viewing Voucher Details:
Double-click on a record to view voucher details in a pop-up window.
Exporting Financial Records:

Click the Excel button to export statements in Excel format.

or click the print button to convert the document to a PDF.