POS – Billing Page
Login Page
First, navigate to Back office > Settings > POS profile and enable the policy:

enabling this policy will allow you to start new session in the same page.
if you disable this policy, you can only start new shift in Back office > Active shifts

Click on ” Yes ” to open new session in the same page.
Show Denomination button will show only if the “Conduct Cash Handover Based on Currency Denominations” Policy is enabled in POS policies.


After entering the password, you can change machine name by clicking on ” Configure “

Note: You can only enter an existing machine name that you have added Back Office > Settings > Machine page

Enable the “Allow User to Login from Different Machine” policy from Back office > Settings > POS profile to allow logins from multiple devices.

If this policy is disabled, users attempting to log in from a different machine will receive a notification.

You cannot open two sessions at the same time, you must end the current session first.

Product Type
Type of each products will show on the left side

Note: if the “Allow Changing Price of Service” policy is enabled in POS profiles. The user can add new price for the service

Each scanned barcode will create a new line on the receipt If you enable this policy in POS Profiles “Add Separate Billing Line for Each Scanned Barcode“:

If you do not choose this policy, the total quantity will be updated on the existing line.

Allow Invoice Cancelation
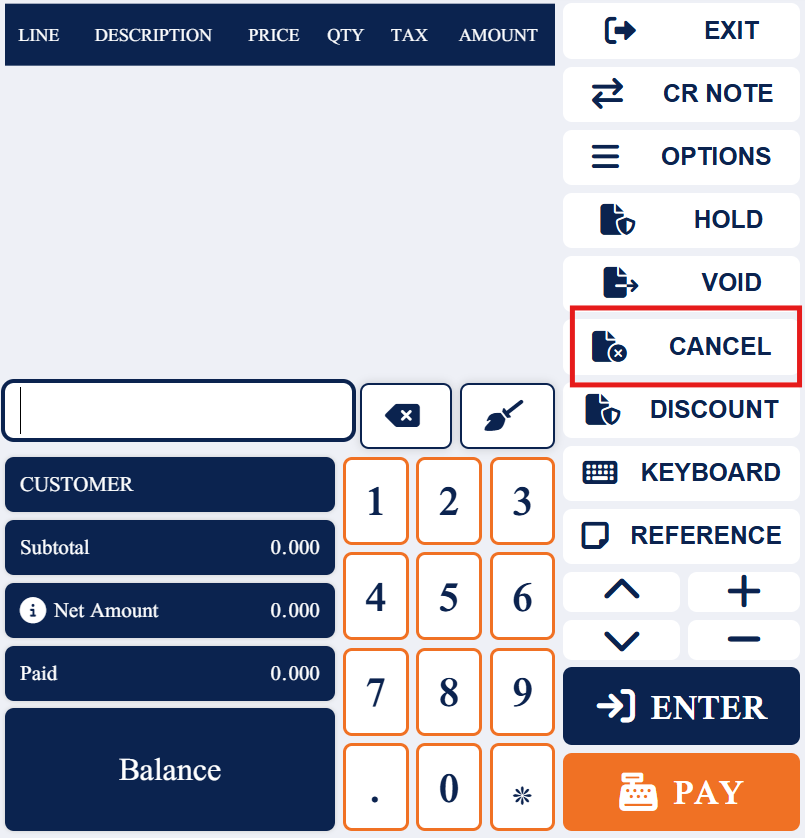
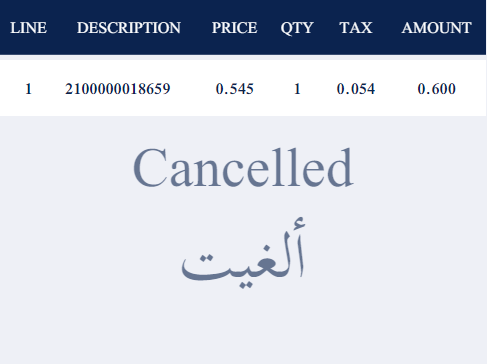
When the policy is enabled, the system gives users the ability to cancel invoices within the billing.
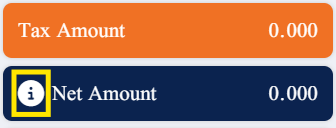
Hold Invoice
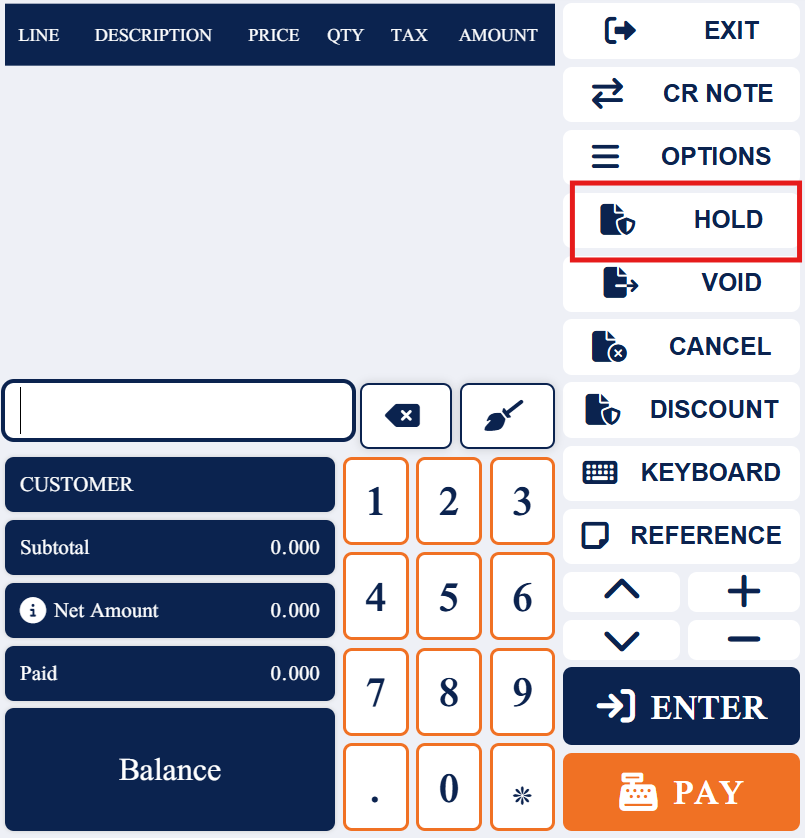
When the policy is enabled, the system allows users to place an invoice on hold, deferring its processing, and providing the capability to retrieve and resume it later.
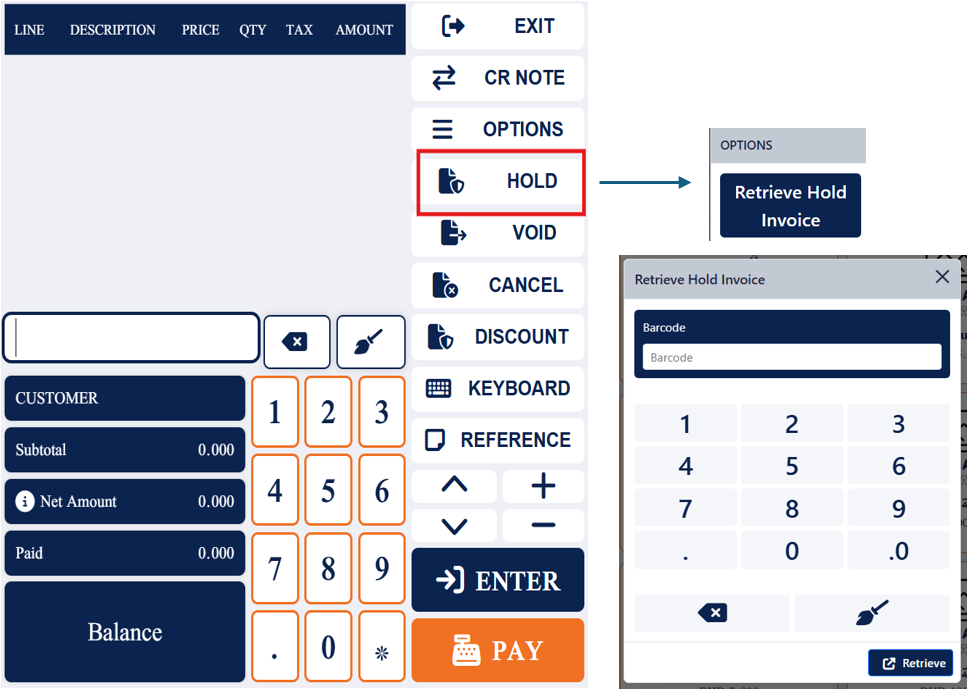
You can Also retrieve hold invoices , By clicking on Options > Retrieve hold invoices > Enter Barcode
Void Invoice
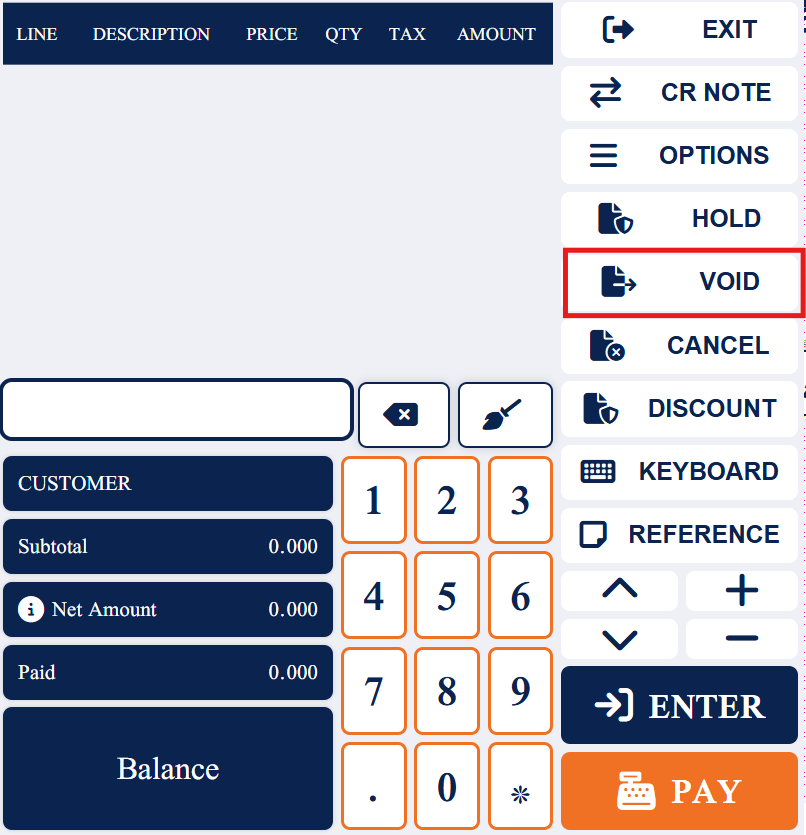
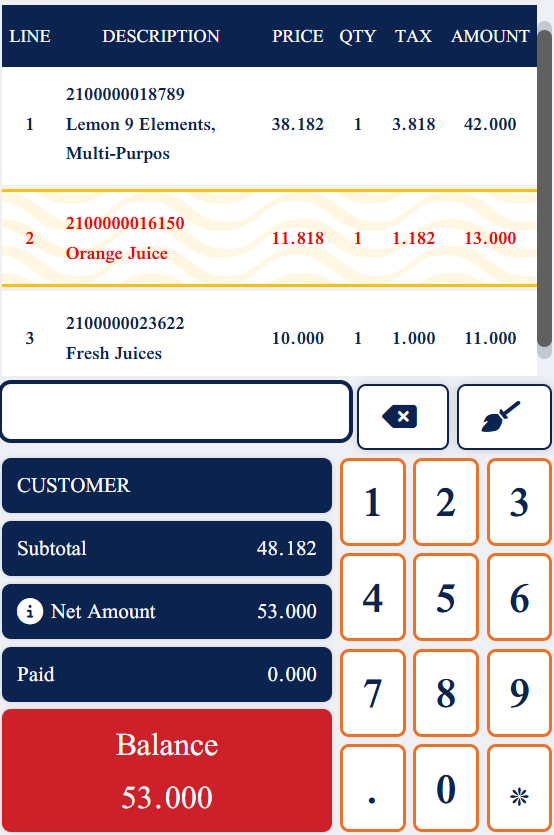
When the policy is enabled, the system allows users to cancel or void specific items of their choice within an invoice.
Voided items will be show in a yellow label and it will not be counted.
Services
You can apply the service to the invoice by searching for items that are of the “Service” type.

Service Price Change Policy:
If the “Allow Service Price Change” policy is enabled in the POS policy settings, the user can add a new price for the service.


Reference
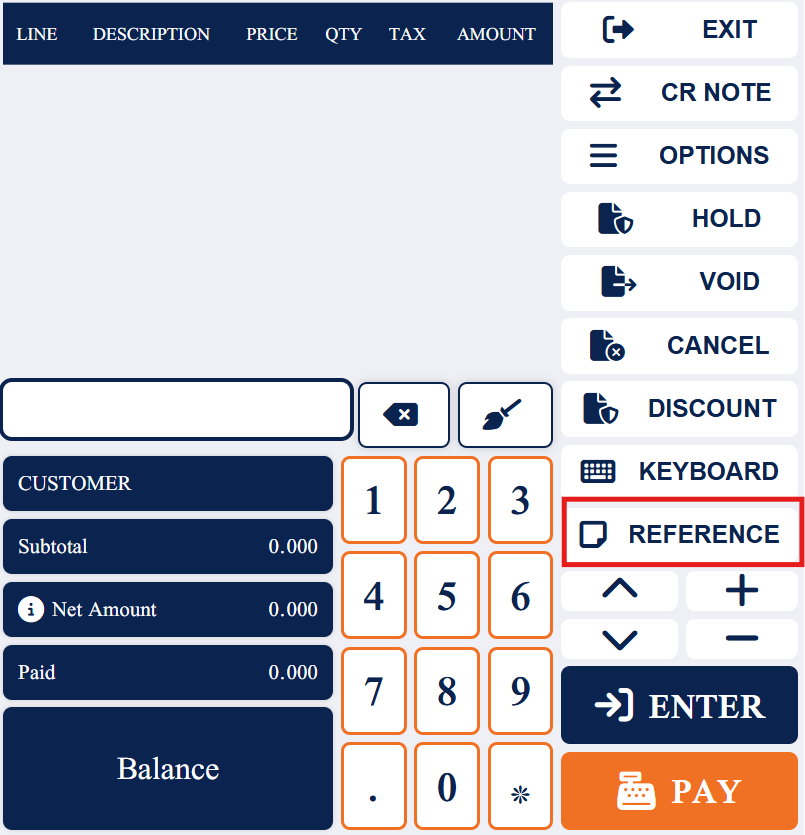
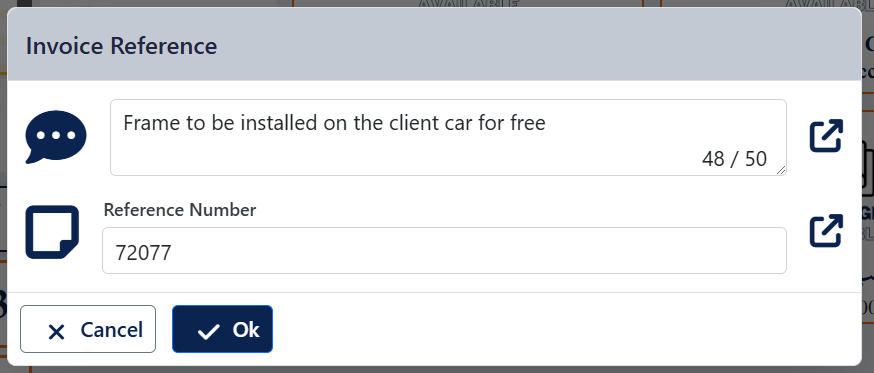
The reference option allows you to add specific notes that appear on the printed invoice. This is particularly useful for employees to track additional details.
For example, you can write “frame to be installed on the client’s car for free” in the description, and enter the car number in the reference field, so the employee knows exactly which car the service is for.
Credit Note
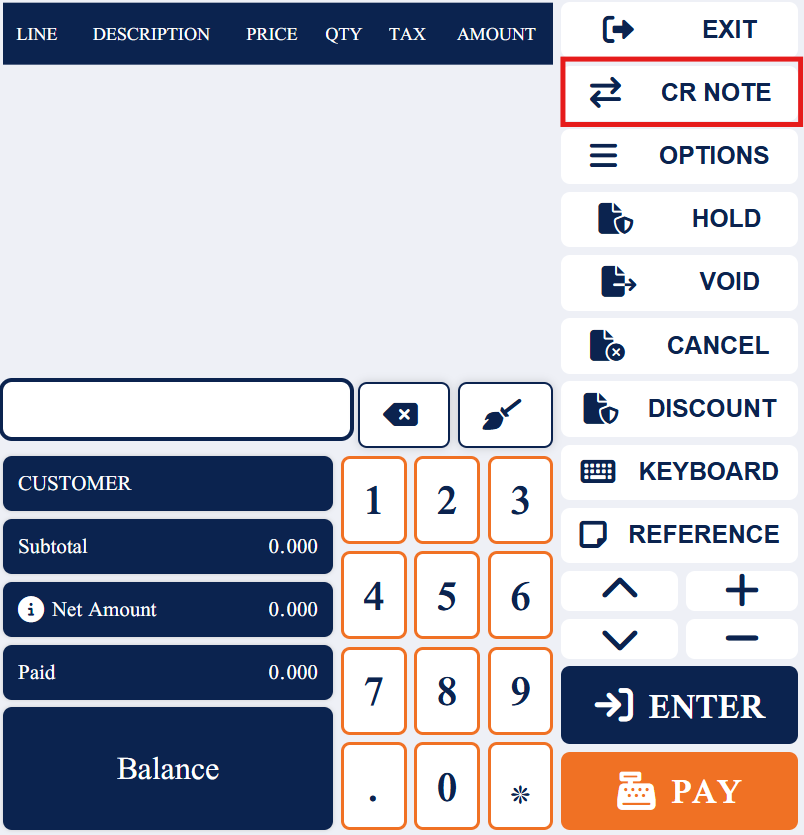
You have the option to Retreive a Credit Note OR by create a new one “for the current invoice“
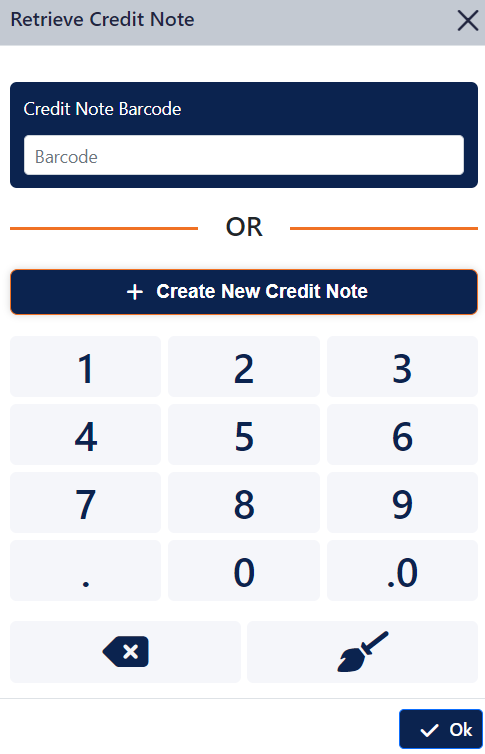
If you want to retrieve a credit note, Go to POS in back office > Shifts

Double click on specific shift

Note: You can only retrieve a credit note if the invoice status is Paid
Click on View button, scroll down and copy the invoice barcode

This is the replacement page:
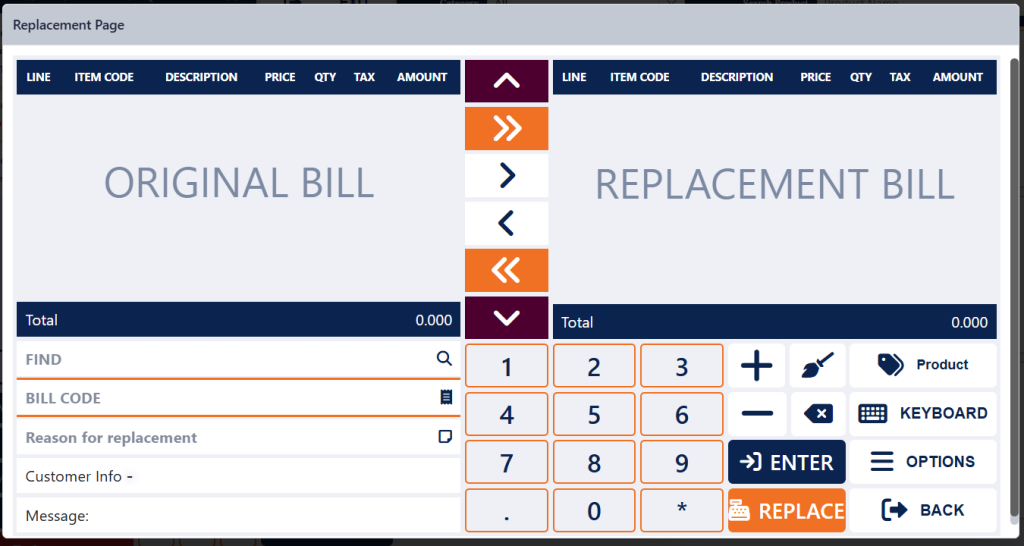
1. Find: Search for a specific product by name.
2. Bill Code: Enter the bill code for which you want to create a credit note.
3. Reason for Replacement: Enter the reason for replacing the item or invoice.
4. Customer Info: Shows the customer for whom the invoice was issued.
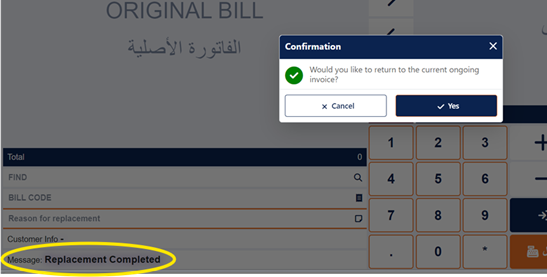
5. Message: After completing the replacement, a confirmation message will be displayed.
Buttons

Enter the Credit Note barcode that you have selected:
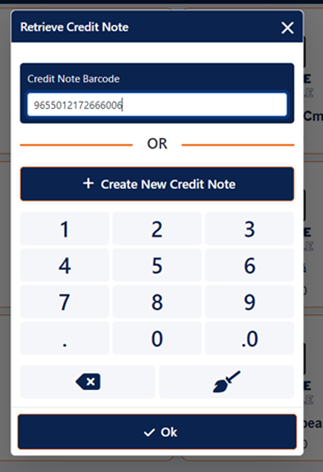
Click on “OK” to create the credit note.
Customer
You can select or add a new customer.
To enter an existing customer, go to Orders > Customers page in the back office and enter the customer contact number

Select Existing customer:
Enter the customer contact.
Change button: Change the customer
Edit button: You can only edit the customer’s name.
Redeem Points: Redeem points allow customers to use accumulated loyalty points to get discounts or rewards on their purchases.

If the customer don’t have enough points to redeem, This message will appear:

To view customers points, Go to Back office > Reports > Customers report
Click on view button


Discount
You can apply discount either by Amount , Percentage or By invoice line
Note: Amount of discount will be displayed in tax exclusive and inclusive.

Note: the system always takes the last discount entered. for Example, If you apply a 10% discount and then enter a 5% discount, only the 5% will be applied

Discount By Amount:


By Percentage:


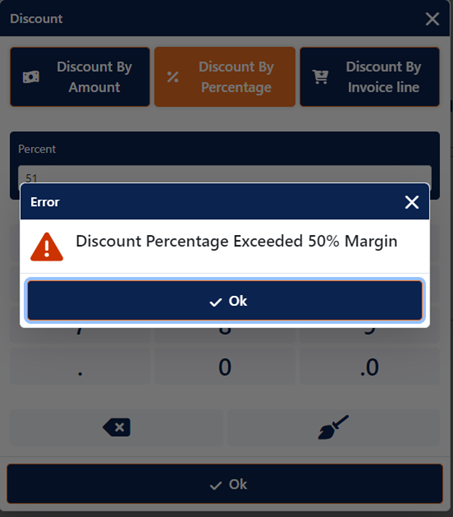
Note: if the maximum discount is set to 50% in the policies page and you enter 51%, the system will notify you have exceeded the limit.

Invoice Payment
The system displays various payment method and foreign payment methods, First. choose the print type whether its paperless, print of both:
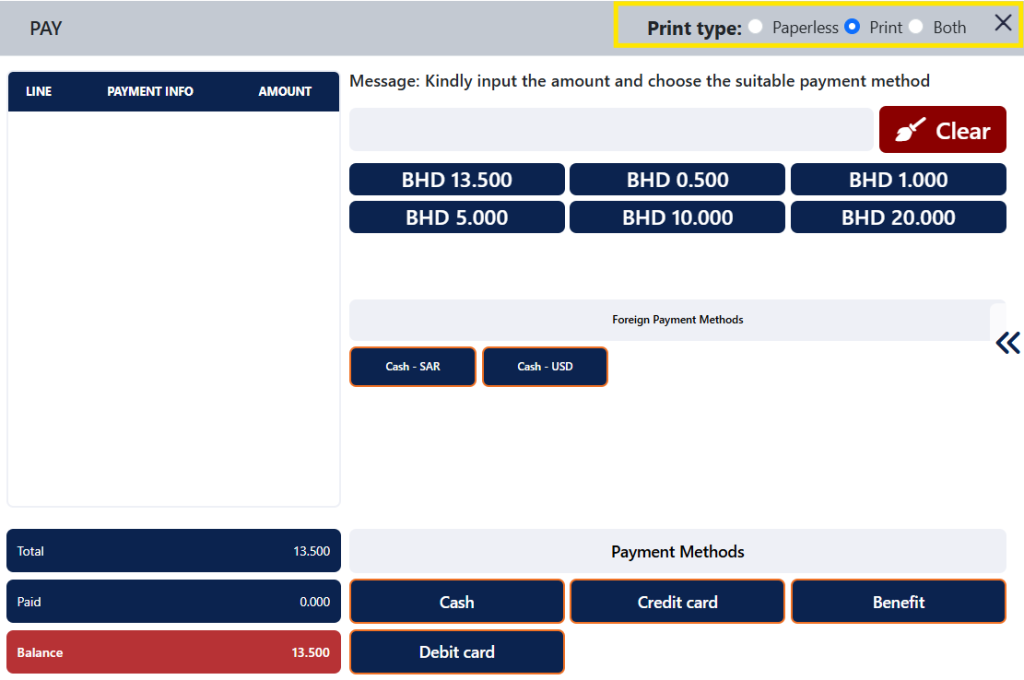
The system displays various payment methods, including foreign payment options. First, choose the print type: paperless, printed, or both.
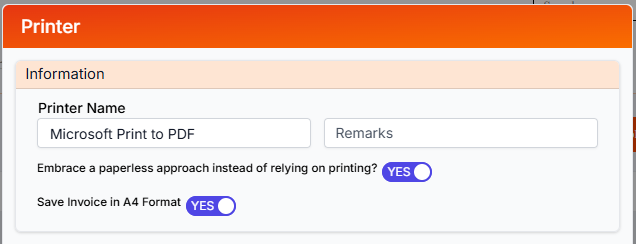
Note: To change the print format to A4, go to Settings > Printers, select the current machine, and enable the “Save invoice in A4 format” option.
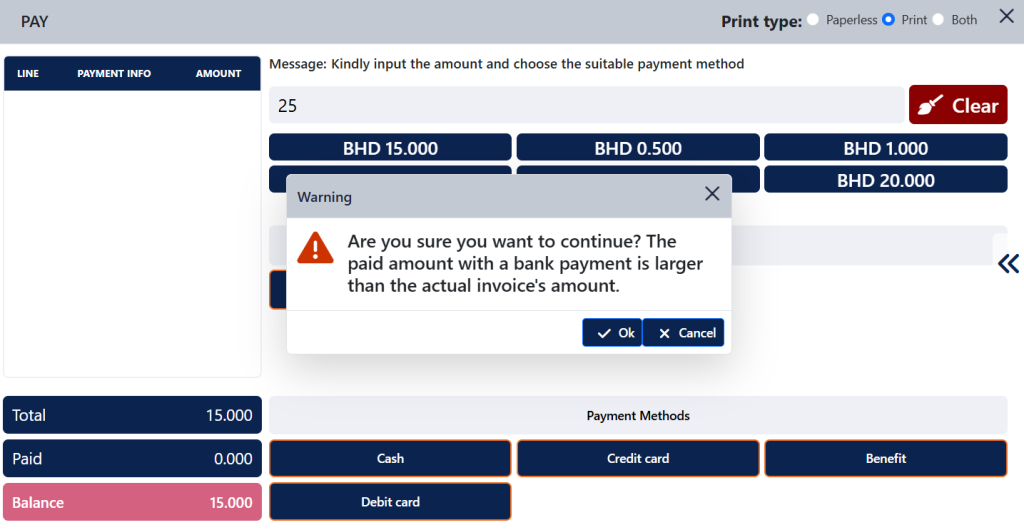
If you choose Credit Card, Benefit, Mobile payment, Benefit or Mada and enter an amount that exceeds the bill total, the system will display a message informing you of the overpayment.
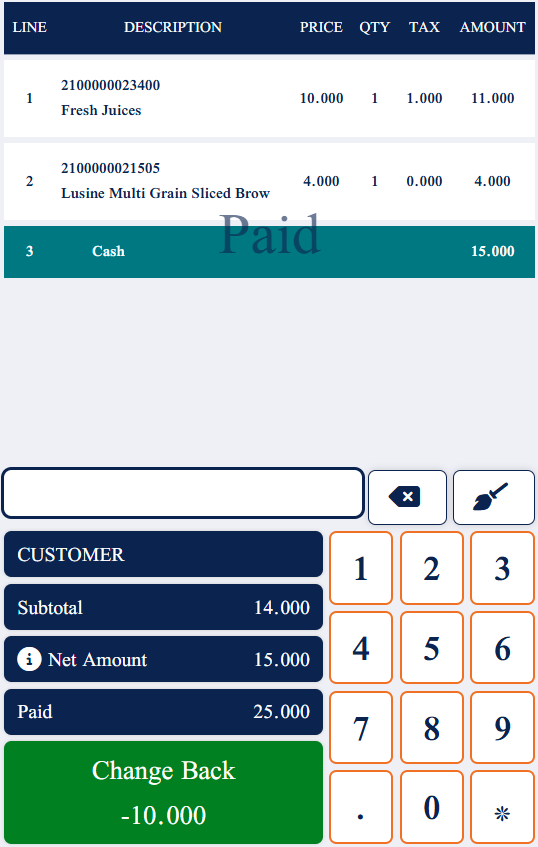
If you choose Cash the system will calculate and show the cash back amount.
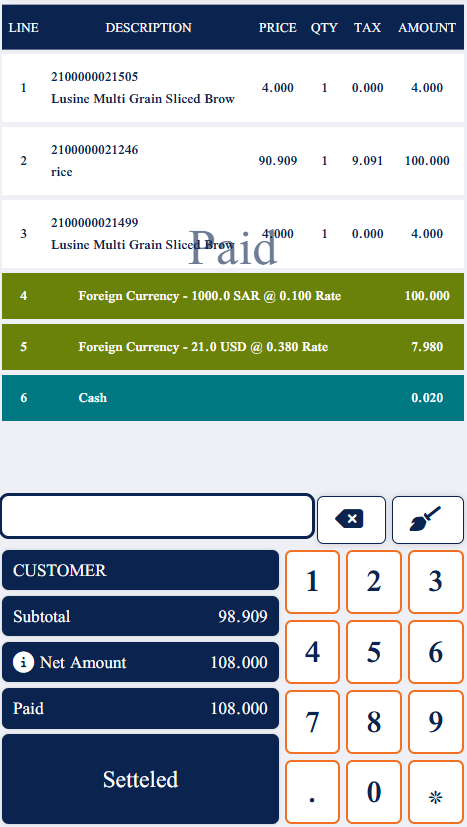
You also have the option to pay using multiple payment methods or currencies.
Product Search
You can search either by Category or By entering the product name.
Click on the “ Show Similar Products” button to display products that share the same product tag.


Offline Functionality
When the connection is lost, you can continue working offline, and all data will be saved locally. The status will update to Disconnected.

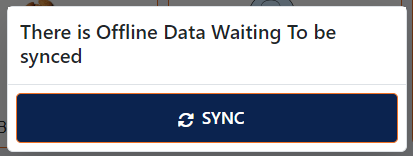
Once the connection is restored, a pop up will appear and you simply need to click the Sync button to save the data in the remote server
