
Setup
Currencies
The currencies page lists all available currencies with details like names and symbols. You can easily add multiple currencies to the system, enabling you to manage transactions in different currencies as needed, currencies are used in the supplier page, customer page and all over the system, if the value for currency is not selected then the main currency from the company will be taken as default.
Create a new currency

- Enter Currency name
- Enter Currency full name – the full name of the currency in the main language of the company
- Rate is the rate of the currency with respect to the main currency of the company.
- Symbol – the symbol of the currency in the main language of the company.
- Decimal places- the number of decimal places usually representing the label subunit.
- Rounding- round of the currency.
- Is Right- check the box is the currency symbol is to be placed on the right side of the amount.
- Label- the name of basic unit of currency in the main language of the company
- Label sub unit- the name of the subdivision of the currency in the main language of the company.
The currencies are used in the supplier page, customer page and all over the system, if the value for currency is not selected then the main currency from the company will be taken as default.
How to edit:
Edit existing record by double click on the currency record and it will enable editing and you can do your preferred edits and save with the save button.
Chart of Accounts
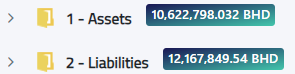
The Chart of Accounts page offers a user-friendly interface where you can easily rearrange accounts to fit your organizational structure. It also displays the current balances next to each account name, giving you an immediate overview of your financial situation.
Add new accounts
To Add account, Select the parent account and click on add button

For example:
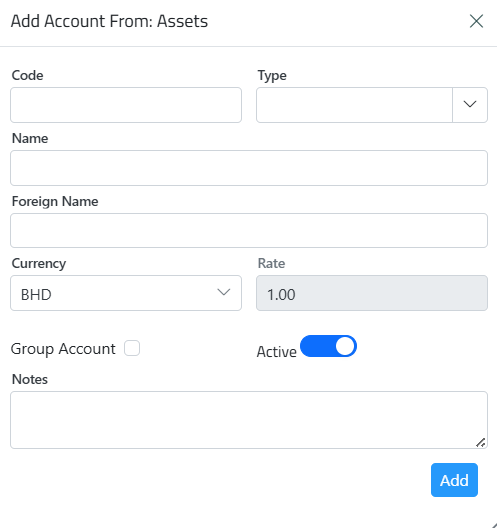
Write the code, select the account type, write the name and foreign name select the currency,
Note: To create a new currency, go to the currencies page on the setup tab.
Select if it is a group account, switch the button and select whether the account is active or blocked, add preferred notes.
Note: The parent’s account code must be the Starting digit of the child’s account code.

You can export the chart of account to excel by clicking on the button
Cost centers
The cost centers page shows different departments and locations within a company where costs are tracked. You can add, edit, or manage these centers.
Create new cost centers
Click on the add button.
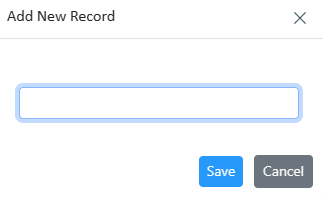
Enter the Cost Center’s name and click on the save button.
Taxes
Taxes that the user added first when creating the company will show here, the user can edit by double-clicking on the record, delete the existing taxes, or create new taxes.

Create a new tax
Click on the add button to create a new tax.

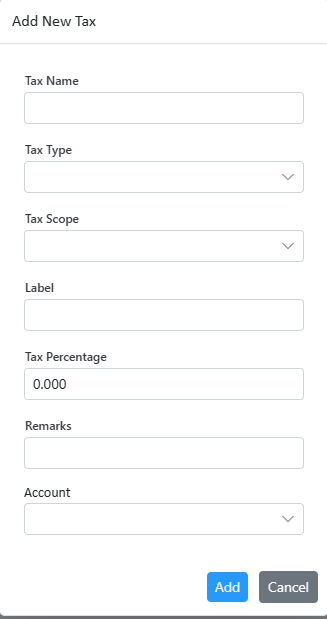
- Enter Tax Name
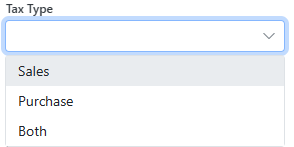
- Select the Tax type whether it is on purchases or sales or both.
- Select the Tax scope whether it is services or goods or both.
- The user can write additional descriptions in labels & remarks.
- Enter the tax percentage.
- Choose the tax account that the user has added to the account chart.

And click add.
Actions:
| click on the edit button, make the desired changes, and save. |  |
| The user can delete the tax if it does not have any transactions, by clicking on the delete button. |  |
Financial Periods
The financial periods page lets you define periods by adding a start and end date. You can lock a year once it’s finished, and you can also lock individual months to prevent further changes after closing them.
Set your company’s financial period by clicking Add button.

Choose start/ end date, The system shows all 12 months with their start and end dates and the status if they are open or closed.
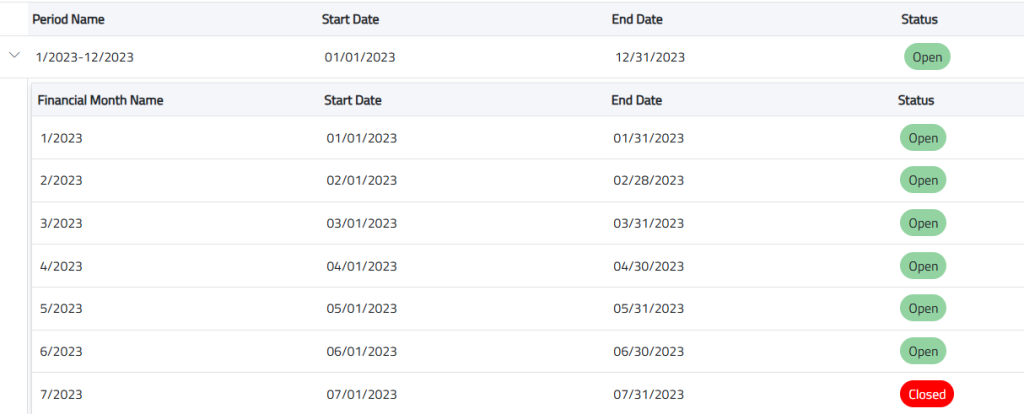
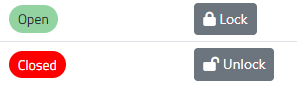
It includes a lock button that allows you to lock the year or specific months. This prevents any edits to past data once the period is closed,
Click on the expand button to view each month.
Actions:
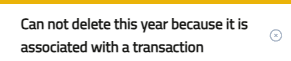
| The user can delete the financial period by clicking on the delete button. |  |
Only if it does not have any transactions,
Additional cost setup
Additional costs like customs or shipping are automatically included in bills and assigned to the appropriate party, keeping them separate from supplier payments. You can Link it with the supplier, it assigns the product’s supplier for additional costs.
Create a new additional cost

click on add button:

- Enter the name of the cost.
- Select the debit and credit accounts
- Search for all existing debit and credit accounts click on the Show More button.
- click on the edit button, make the desired changes, and save.
- The user can delete the Additional cost if it does not have any transactions,
Products & Services
Retail and Wholesale
The categories setup page displays all categories added in the inventory module along with their associated products. This helps you manage and organize inventory items effectively.

Click on the product to view the list of products.
Set the accounting information of the category.
| Click on the edit button. |  |

- Choose the pricing method.
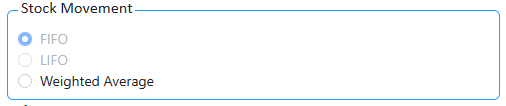
- Choose the stock movement.
- Select the accounts that are associated with the inventory module. these accounts are set in the company setup if they are not set here for each of the categories.
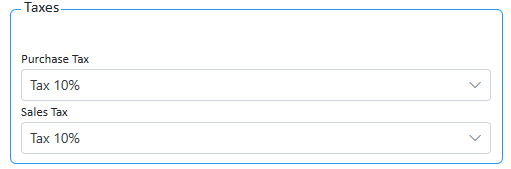
- Select the sales and the purchase tax.
Service type
Service type is used when creating a service.
Create a new service type

Click on the add button to add a new service type
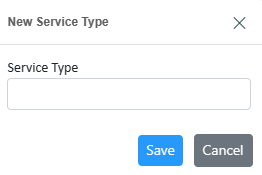
Enter the name of the service type.
Modify service type Or change Accounts:
| Click on edit to add the service-type accounts. |  |
Select the income account, expense account, service account, sales return account, and cost of sales return and click save.
Services
The service page is used during the creation of a bill or invoice to specify and detail the services provided. It allows you to add service descriptions, quantities, and rates, ensuring accurate and comprehensive billing.
Note: Before creating the service make sure to create the service type.
Create a new service
Click on the add button to add a new service:
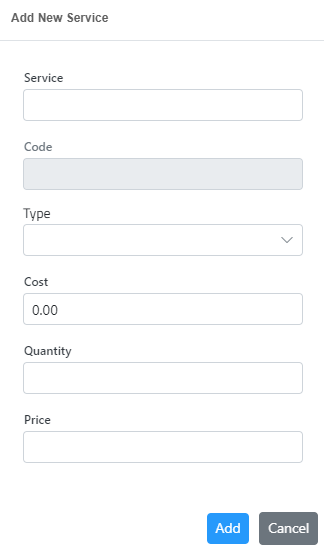
Enter the name of the service, choose the type of service (The user has created on the service type page), and add the cost of the service, quantity, price, and account that will be affected and click the add button.
Note: the accounts of the services should be created in the chart of accounts with the type “service”.
By default, the accounts will be taken from the companies.
Delete:
To delete the service, click on the delete button.
Fixed assets
The fixed assets page lets you track and manage fixed assets, such as equipment and vehicles. It includes details like fixed assets name, categories and depreciation type.
To go to asset categories, click on the categories button.

Create a new fixed asset

Click on the add button.
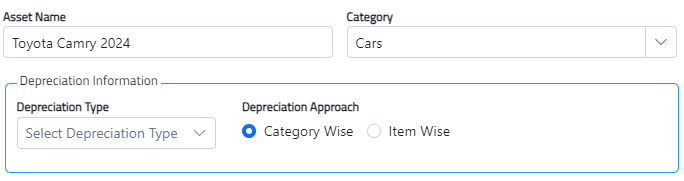
Enter the Asset name, select the category of the asset, choose depreciation type and depreciation approach.
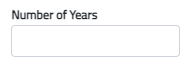
If you select ” item wise ” depreciation approach you have to enter the Number of years
Note: Go to the categories first and create the categories that the assets are supposed to be under.
Consumables
The consumables are to be used when creating bills or vouchers.
Create a new consumable product
Click on the Add a Consumable button,
Upload a photo by clicking on the image,
Then select to browse or drag and drop the image.

- Enter the bar code first.
- Enter the product name,
- Enter the base unit
Note: The Base units are taken from the existing unit categories base units. To create a new base unit, go to a unit of measures page on the setup tab in the inventory module create a new unit of measurement category and then create a base unit
- Enter the purchase unit,
- Enter the unit cost,
- Enter the account.
Note: the accounts of the consumables should be created in the chart of accounts with the type “consumables “.
By default, the accounts will be taken from the companies.
| Click save. |  |
Modify Consumable product:
Double-click or click on the edit icon, make the desired changes, and click on the save button.
Payment Setup

To view the payment types, select the cost center.
Then the system will display the payment types for the selected cost center.
Once the cost center is selected the user can add new payment types.
Create a new payment setup

Click on the Add Button.

Select the payment type.

Select the fund account. (Note: To create a new fund account, go to the bank and cash page on the cash book tab on the accounting module)
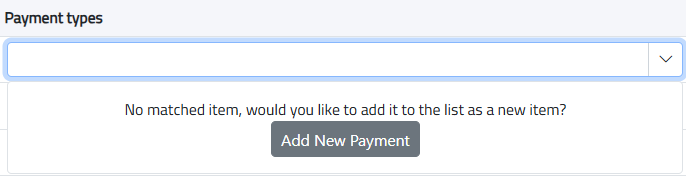
To add new payment method, type the name and click on “Add New Payment”
| Click save. |  |
Modify Payment setup:
| Click on the edit icon and make the desired changes. |  |
| Click on the delete icon and the system will delete the record. |  |