
Bills
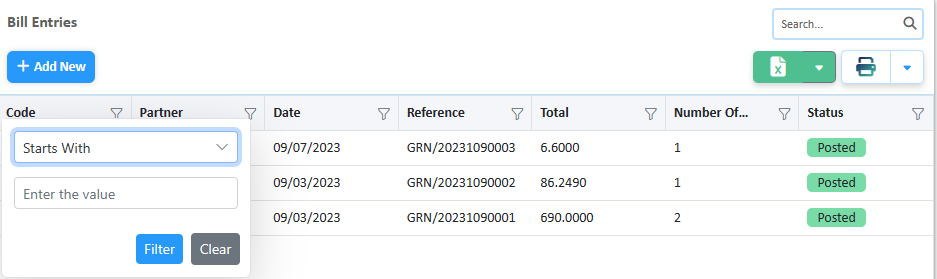
Bill Entries
The bill entry page allows you to record and manage bill details, including amounts, dates, and supplier information, you can include expense, asset, and service from the same supplier in a single bill.
Filtering & Sorting:
Filtering: Click on the filter icon to open the filter and enter the value to filter for or use the search bar to find the desired record.
Sorting: Click on the column header to sort the records in ascending or descending order.
Total amount:

The sum of all the paid & posted invoice entries is displayed as the posted and the sum of all the unposted is displayed. along with the total amount of both posted and unposted.
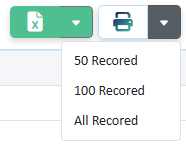
Exporting Document:
The invoice entries can be exported in two formats-
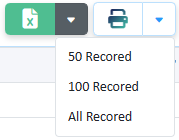
Excel, or directly printed as a PDF report.
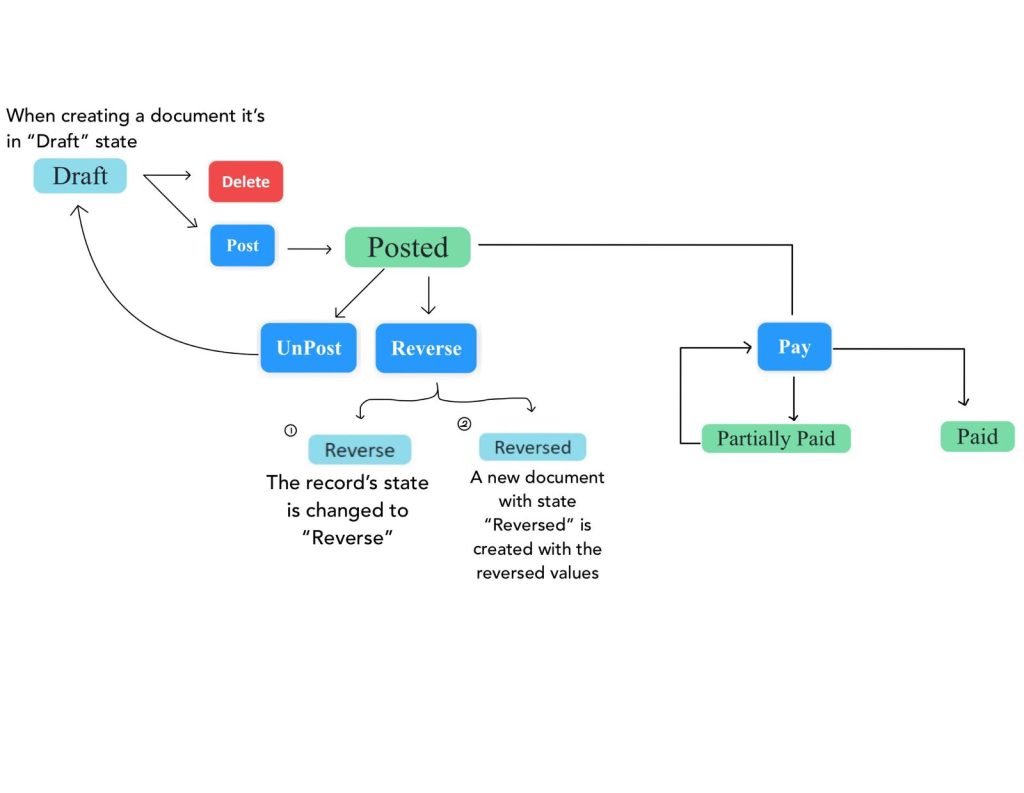
Bill Status:

The voucher has been canceled and reversed.

The voucher has been posted and recorded in the accounting system.

The document has not been posted and can be modified.

The record cannot be modified because the document has already been created.

The bill has been fully paid.
Only part of the bill has been paid.
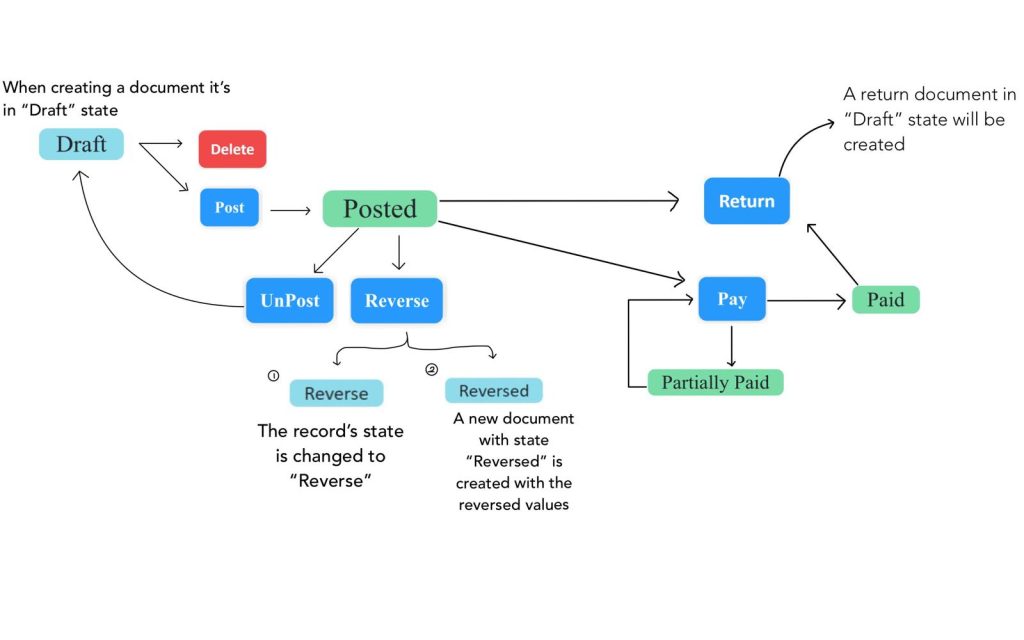
The flow of actions in this document:
Create a new bill entry:

Select the supplier for whom the bill entry is created.
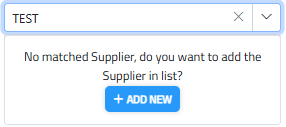
if the supplier is not listed type the name of the supplier and click the “Add New” button.

Enter the Description of the bill entry.

Select the Accounting Date.

Enter the reference number.

Write the Desired comments.

Select the currency.
Note: The currency can be created in the currencies page on the set-up tab on the accounting module.

Select if the tax should be applicable, and inclusive.

Select the Cost Center. you can distribute payments across multiple cost centers or departments by specifying percentages, the system will automatically divide the amount accordingly.
- First, choose the cost center. Click the Add button,

- then enter the percentage.
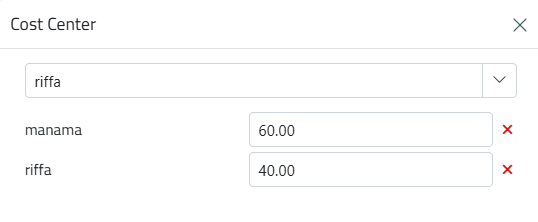
- Repeat for additional cost centers, and the system will distribute the invoice amount accordingly.
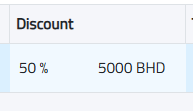
Discount:
Select If the Discount should be for the whole bill or for each line

If the discount is for the whole bill enter the discount amount.
But if the discount is for each line of record, then the discount should be entered in the table.
Step 1:
Select the expense tab.

Click on the add button to add an expense record.

Search and select the Consumable product.
Note: Create the product on the consumable page, on the product and services tab on the setup tab on the accounting module.
The account of the product is displayed.
Enter the Quantity.
The UOM of the product is displayed.

Enter the price of the product.
Step 2:
Select the asset tab.

Click on the add button to add an asset record.

Search and select the Asset product.
Note: Create the product on the fixed asset page, on the product and services tab on the setup tab on the accounting module.

Enter the Quantity.

Enter the price of the product.
Step 3:
Select the service tab.

Click on the add button to add a service record.


Search and select the Services.
Note: Create the service on the service page, on the product and services tab on the setup tab on the accounting module.
Enter the price of the product.
Note: The service must have an account.
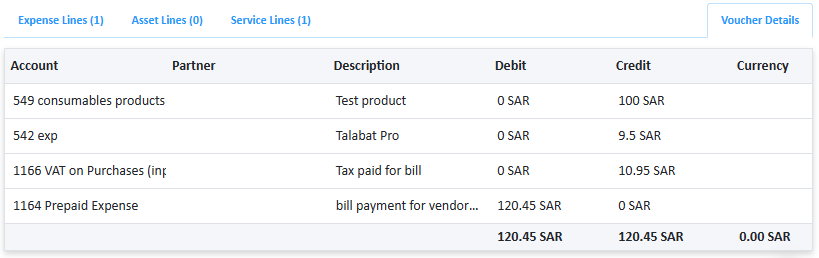
Preview of voucher:
Before you finalize the voucher, the system displays a preview of the voucher that will be created

After making sure everything is recorded right the user can save and then post, the invoice is created when the document is posted.

The document can be directly Posted by clicking the post button located in the top right corner of the page.

Once the document is posted if the user has permission, it can be unposted by clicking on the unpost button.

Duplicate Document: Click the duplicate button to create a copy of the document.

View Logs: View the history of changes made to this document.

Print Document: Click the print button to generate a PDF for printing or downloading.

Export to Excel: Click the Excel export button to export the document in Excel format.

Delete Document: If the user has permission, click the delete button to delete the document.
Navigate: Use the navigation buttons in the top right corner to move to other documents. The current document number is displayed according to the main document list.

Archiving Documents: Documents can be archived by clicking the archive button.
Reversing Voucher:

To reverse a voucher, click the reverse button located in the top right corner of the page.
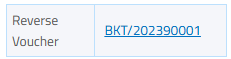
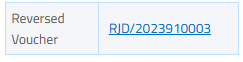
Reversed documents will display a reference number indicating they have been reversed.
When the amount is paid to the supplier, click on the Pay button in the Bill.

A pop-up window will appear where you need to choose the account that the amount paid from the drop-down menu.
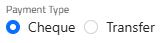
- If you select a bank account, it will show options for transfer or cheque. If it is a cheque, you can write the cheque number in the external code field.
- Select the date of payment.
- Enter the amount paid. If the customer’s payment is in a different currency from your default currency, the amount will be displayed in both currencies.
- If you pay part of the amount OR if the fund is insufficient, Bills will be partially paid based on the available funds.

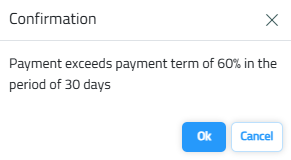
- The payment term you have added to the customer will be displayed.

- If you exceed the payment term when paying, a message will appear to notify you.
Returning an Invoice:

You can return the invoice by clicking the “Return” button. You can view it in the revenues page > Invoices > Returns.
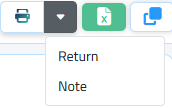
If you want to print, you will see options to print the original invoice (Note) or the returned invoice. Choose the appropriate option to print the desired invoice.
Bill Returns:
This page allows you to initiate and manage the return of goods to suppliers, ensuring accurate adjustments in inventory and accounts payable.
Filtering & Sorting:
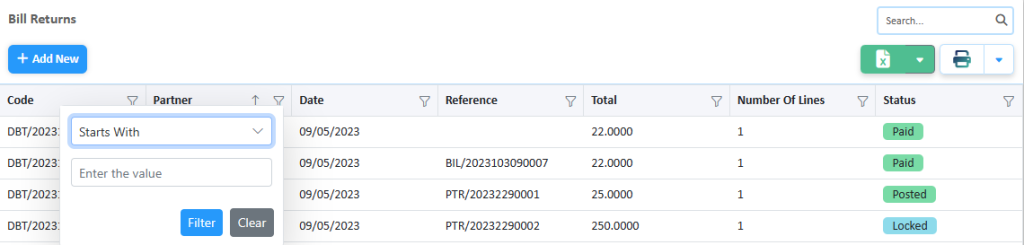
Filtering: Click on the filter icon to open the filter and enter the value to filter for or use the search bar to find the desired record.
Sorting: Click on the column header to sort the records in ascending or descending order.
Total amount:

The sum of all the paid & posted bill entries is displayed as the posted and the sum of all the unposted is displayed along with the total amount of both posted and unposted.
Exporting Document:
The invoice entries can be exported in two formats-
Excel, or directly printed as a PDF report.
Flow of Document Status:
Create a New Bill Return:
The Bill Return page allows you to create and manage the return of bills. Here’s how to create a new bill return:
1.Select the supplier:

Choose the supplier for whom the bills return is being created,

Click on the “eye icon” to view the supplier details


You can only change/choose cost center , Purchase representative, and enter yearly percentage discount.
2. Import bill Entry:
- Click the import button to bring in the bill entry to be returned.

- Select the bill entry reference number from the dropdown or manually enter and select the reference number.
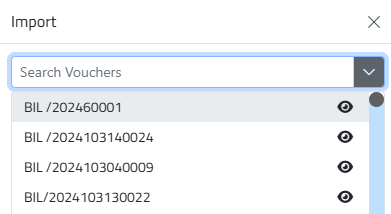
- Click the add button. Multiple bill entries from the same supplier can be returned at once.
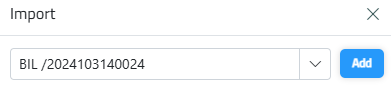
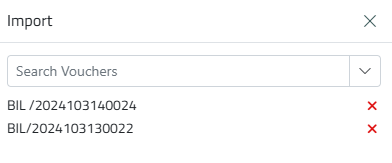
- Once the reference is selected, click the OK button. The system will automatically retrieve all the data from the selected bill entry.

- You can view the bill before choosing it, by clicking on the eye icon
3. Enter Return Details:

– Enter the description of the bill return.

– Select the accounting date.

– Enter the reference number.

– Write any desired comments.

– Select the currency

– Indicate if the tax should be applicable and inclusive.

– Select the cost center.

– Specify if the discount should be for the whole bill or each line. Enter the discount amount accordingly.
4. Input Expense, Assets and Services Lines:

- Select the desired tab.
- Click the add button to add an expense, asset and service record.
- You can delete any products that should not be returned, keeping only the products to be returned.
- Enter the quantity.
- Enter the price of the product.
- The system will automatically calculate and display the tax amount, subtotal amount, and total amount.
5. View Voucher Details

Before you finalize the voucher, the system displays a preview of the voucher that will be created.
6. Save and Post:

After verifying all entries, click the save button Or save and post.
Goods Received Notes:
Goods received notes are created in the inventory module to document the receipt of goods. The user must have a location selected (current location) for which the GRN will be created/shown.
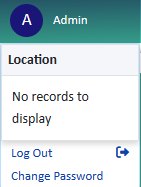
If there are no locations for the current user, then the user can request the admin to allocate locations to the user.
Filtering and Sorting:
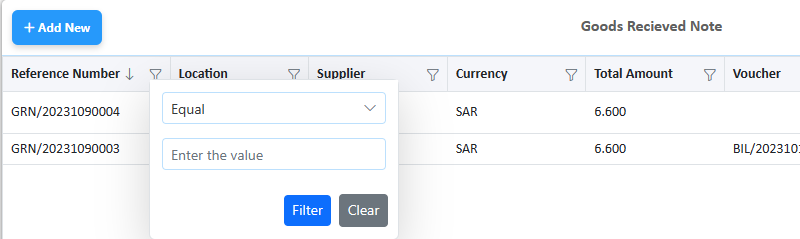
Click on the filter icon to open the filter and enter the value to filter for or use the search bar to find the desired record.
The records can also be sorted in ascending and descending order of the desired field, simply double-click on the column that should be sorted.
Create a new goods received notes
Create a New goods received note.
Supplier:
Select the supplier.
Location:
The Location to be targeted.
This cannot be edited once the product is selected.
These are the locations the user has access to under the current company.
Date:
Select the Date. Once the products are selected the date cannot be changed.
Currency
Select the desired currency.
Tax policy:
Choose the desired taxation policy.
Invoice Number:
in this field you can enter invoice number.
Supplier Products only
this will show you only products that linked with this supplier
Discount Type:
the discount types are of 2 kinds, discount by each item or by the entire invoice.If it’s by type then enter how much discount amount per product in the table. And the system will do the calculations.
But if it is a discount by invoice then enter the discount Percentage.
Purchase representative
The employee who has the responsibility of being a purchase representative.
Price Retrieve Method:Choosing a price retrieval method affects how the price of a product or service is calculated and displayed transactions:
1. Last Landing Cost: This method retrieves the price from the most recent Goods Received Note (GRN), representing the latest cost at which the product was acquired.
2. Average Cost: This method calculates the price based on the average cost of the product over time, considering all previous purchase prices.
3. Last Price from Supplier: This method uses the most recent price provided by the supplier.
4. Retail Price: The retail price is the price specified in the product details at the time of its creation.
5. Last Sale Price: This method displays the price at which the product was last sold to customers, reflecting the most recent sale price.
the default method in GRN is Average cost
Remarks:
Enter the desired remarks.
Products:
Enter the product code directly or select it from a dropdown search for available products. Click on Additional cost tab to add cost to the products .. For example : Shipping cost
Click on Service tab to add service .. For example : warranty
This means that the product you are trying to add does not exist in the list of products associated with the reference you retrieved, ensure that all products you add are already included in the referenced list.
This alert appears when the product is not added to the supplier
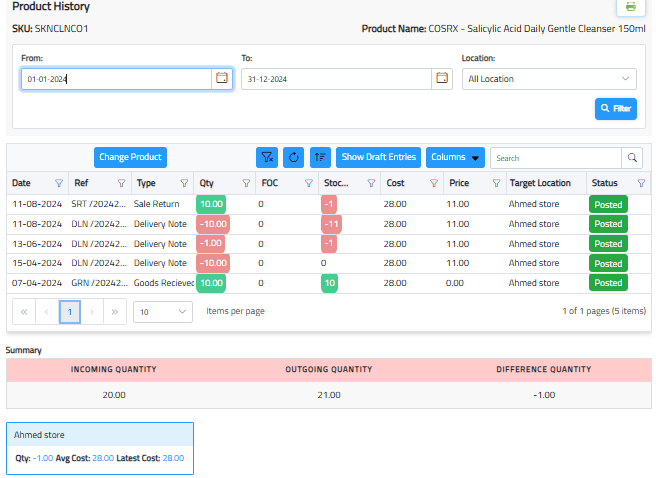
Right-Click on a Line for More Actions:
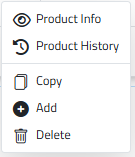
The Product History button displays all transactions for this particular product, including Incoming Quantity, Outgoing Quantity, and Difference Quantity.
Once the products are selected, you cannot change the information below, Except : Discount, Sales representative and Description.

Click on the save button to create this Document.
Once the Record is saved, the Status of the document is Draft.
Click on the delete button to delete the document.
Create a voucher for this record by clicking on the Create voucher button.
Voucher reference will show in the bottom

Click on the print button to export the document in PDF form.
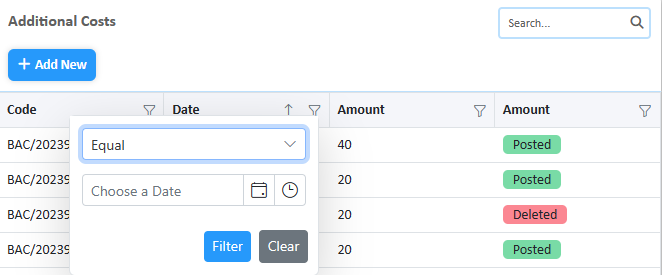
Landing Cost
this page tracks and manages additional costs associated with bringing goods into inventory, such as shipping and customs.
Filtering and Sorting:
Click on the filter icon to open the filter and enter the value to filter for or use the search bar to find the desired record.
The records can also be sorted in ascending and descending order of the desired field, simply double-click on the column that should be sorted.
Flow of Document Status

Create new Landing cost:

1.Select Reference:

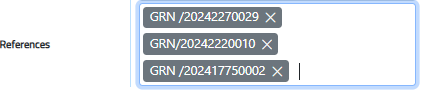
Choose the GRN reference from the dropdown list, which was created in the inventory module.
Note: Multiple reference numbers can be added, also, references are mandatory.
2. Comments

Write the Desired comments.
3. Terms:
Enter the terms for this additional cost.
4. Date:
Select the Document Date.
5. Select Party:
Choose the supplier from the list, if the supplier is not listed type the name of the supplier and click the “Add New” button.
6. Choose Additional Cost:
Select the additional cost type from those added previously in the setup page.
7. Amount:

If the supplier uses a different currency, the page will display the local amount.
8. Post Voucher:

When you click “Post” the system will automatically create a voucher and a bill for the additional costs.
9. Pay Voucher:

After posting, you can pay the voucher by clicking on the bill reference.