
Administration
Users
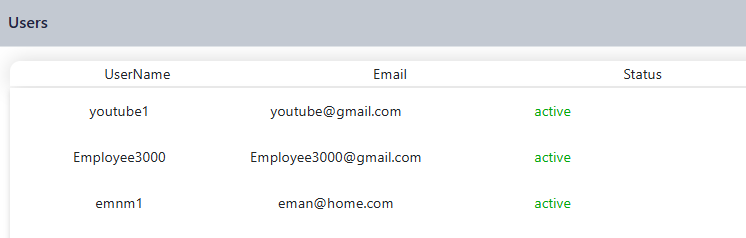
The Users page in the administration section is designed for managing users machine and system users and their statuses within the system
How to Add a new system user

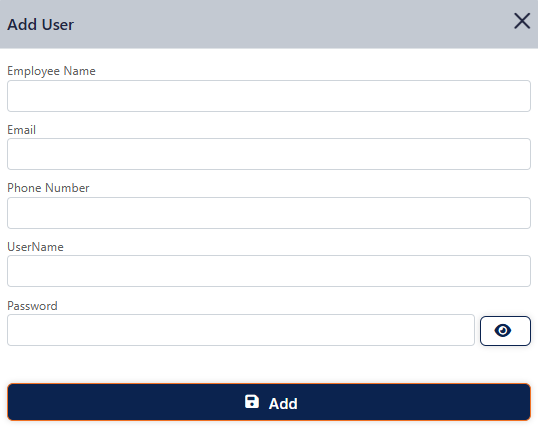
Enter the Employee Name, Email, Phone Number, UserName, Password, select if the user is POS user and assign the role.
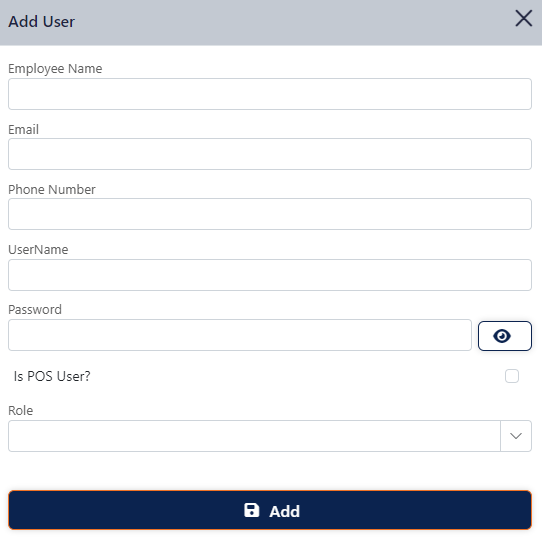
The system will automatically create A unique user id for each user
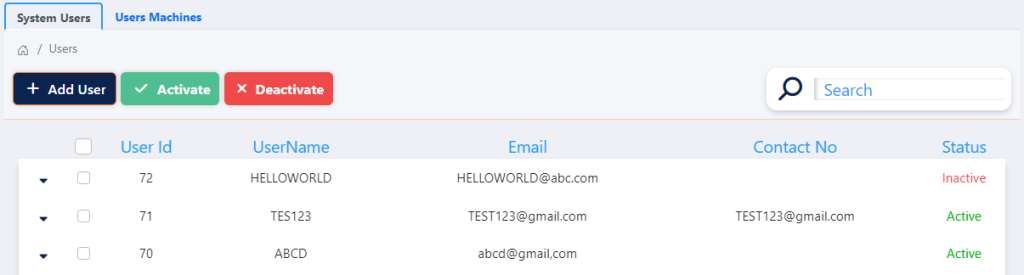
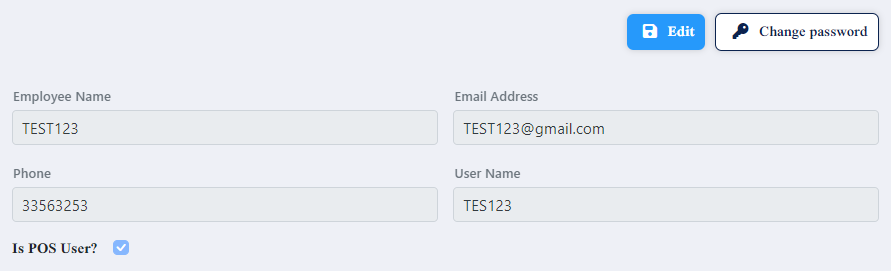
When you click the Expand button on the user management page, it reveals detailed information about each user. Specifically:

- Company: Displays the company or organization the user is associated with.
- Locations: Lists the specific locations (e.g., branches or offices) that the user has access to within the company.
- Roles: Shows the roles assigned to the user, defining their permissions and access levels within the system.

Click on the checkbox to Activate or Deactivate the user. The status of the user will change

Double-click on a specific role to view details.
Select the “Role” tab. If you want to add a new role, You can add multiple roles at once if needed.
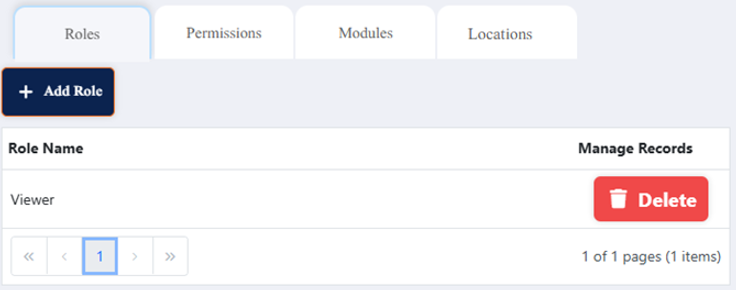

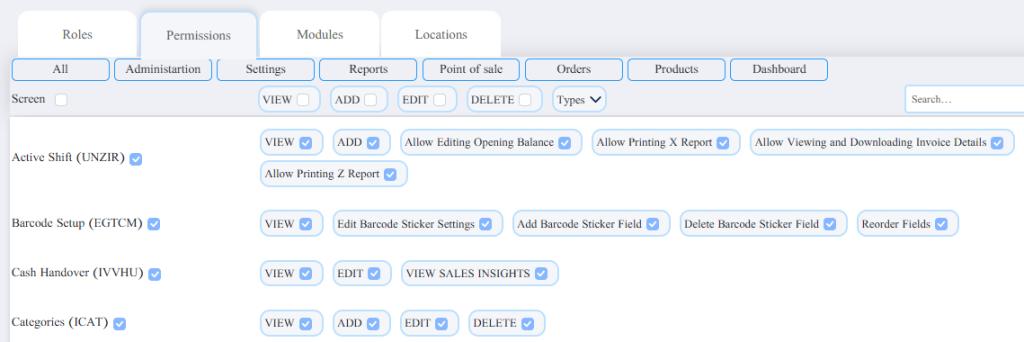
Select “Permission” tab. Here, you can view and assign permissions to the user associated with the selected role.
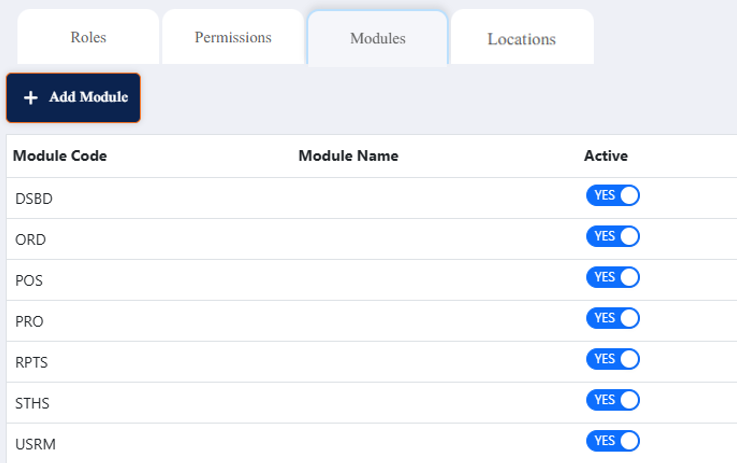
Select “Module” tab. This allows you to add or choose modules that the user can access based on their role.
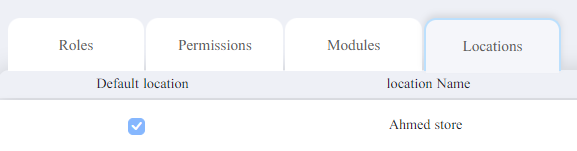
Select ” Locations” Tab to link locations to users and set default location
How to add a new user machine

This tab allows the first registered user to automatically have one machine assigned. For the remaining machines, each can be assigned to one system user. POS users can be assigned to any machine without limitation.
Roles

System Roles
Effortlessly Manage User Roles: Easily create, delete, or assign roles to manage user permissions within the system.
How to Add a New role


Search: find roles using a search bar.
Double Click on “Users” to View users details:

POS roles

This page streamlines the establishment and allocation of your employees, aligning them with their respective titles.

How to Add a New POS Role
Enter the name of the Role like cashier, supervisor, etc. in the main language of the system.

After assigning a role, you have two options: either add an existing user, select from drop down search.
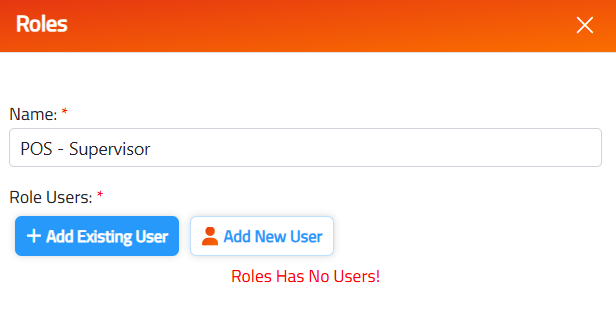
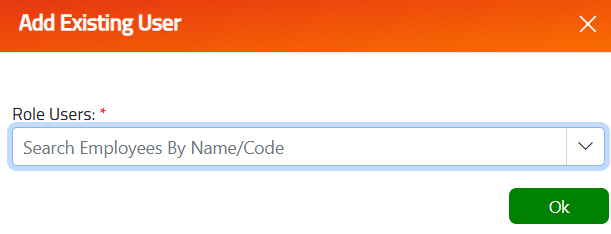
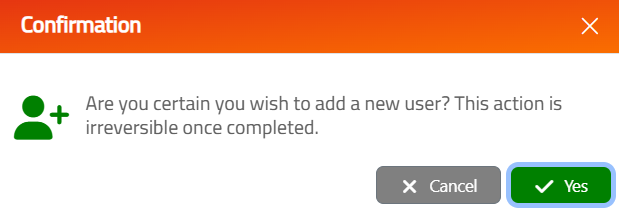
OR create a new one.
Note: Users who don’t have a role cannot open shifts.
Modifying records:

To edit the record, click on the view button make the necessary changes, and click on the update button.

To delete the record, click on the delete button.
You can check out the tutorial below:
POS Permissions
POS machine Permissions
This page facilitates the assignment of the point-of-sale billing permissions to roles.

The user can set a specific role for each task like void, return, etc. to give the role (permission) to perform the actions.
Each action can be assigned multiple permissions roles.
Modifying records:

To edit the record, click on the edit button make the necessary changes, and click on the Save button